3D Blender ✹Course Onboarding Guide
Course Portal / Videos
Find the lesson videos in the ilovecreatives portal.
To access the portal, you will need the email you used to sign up for the course.
Course Workbook
You can find assignments in your Workbook. These exercises will help you build on what you’ve learned by watching the lesson videos in the course portal.
Course Resources
Tools, inspiration, and templates for your 3D design journey.
Cookie Rewards
Cash in your 🍪 cookies for some real sweet treats!
3D Blender ✹Course
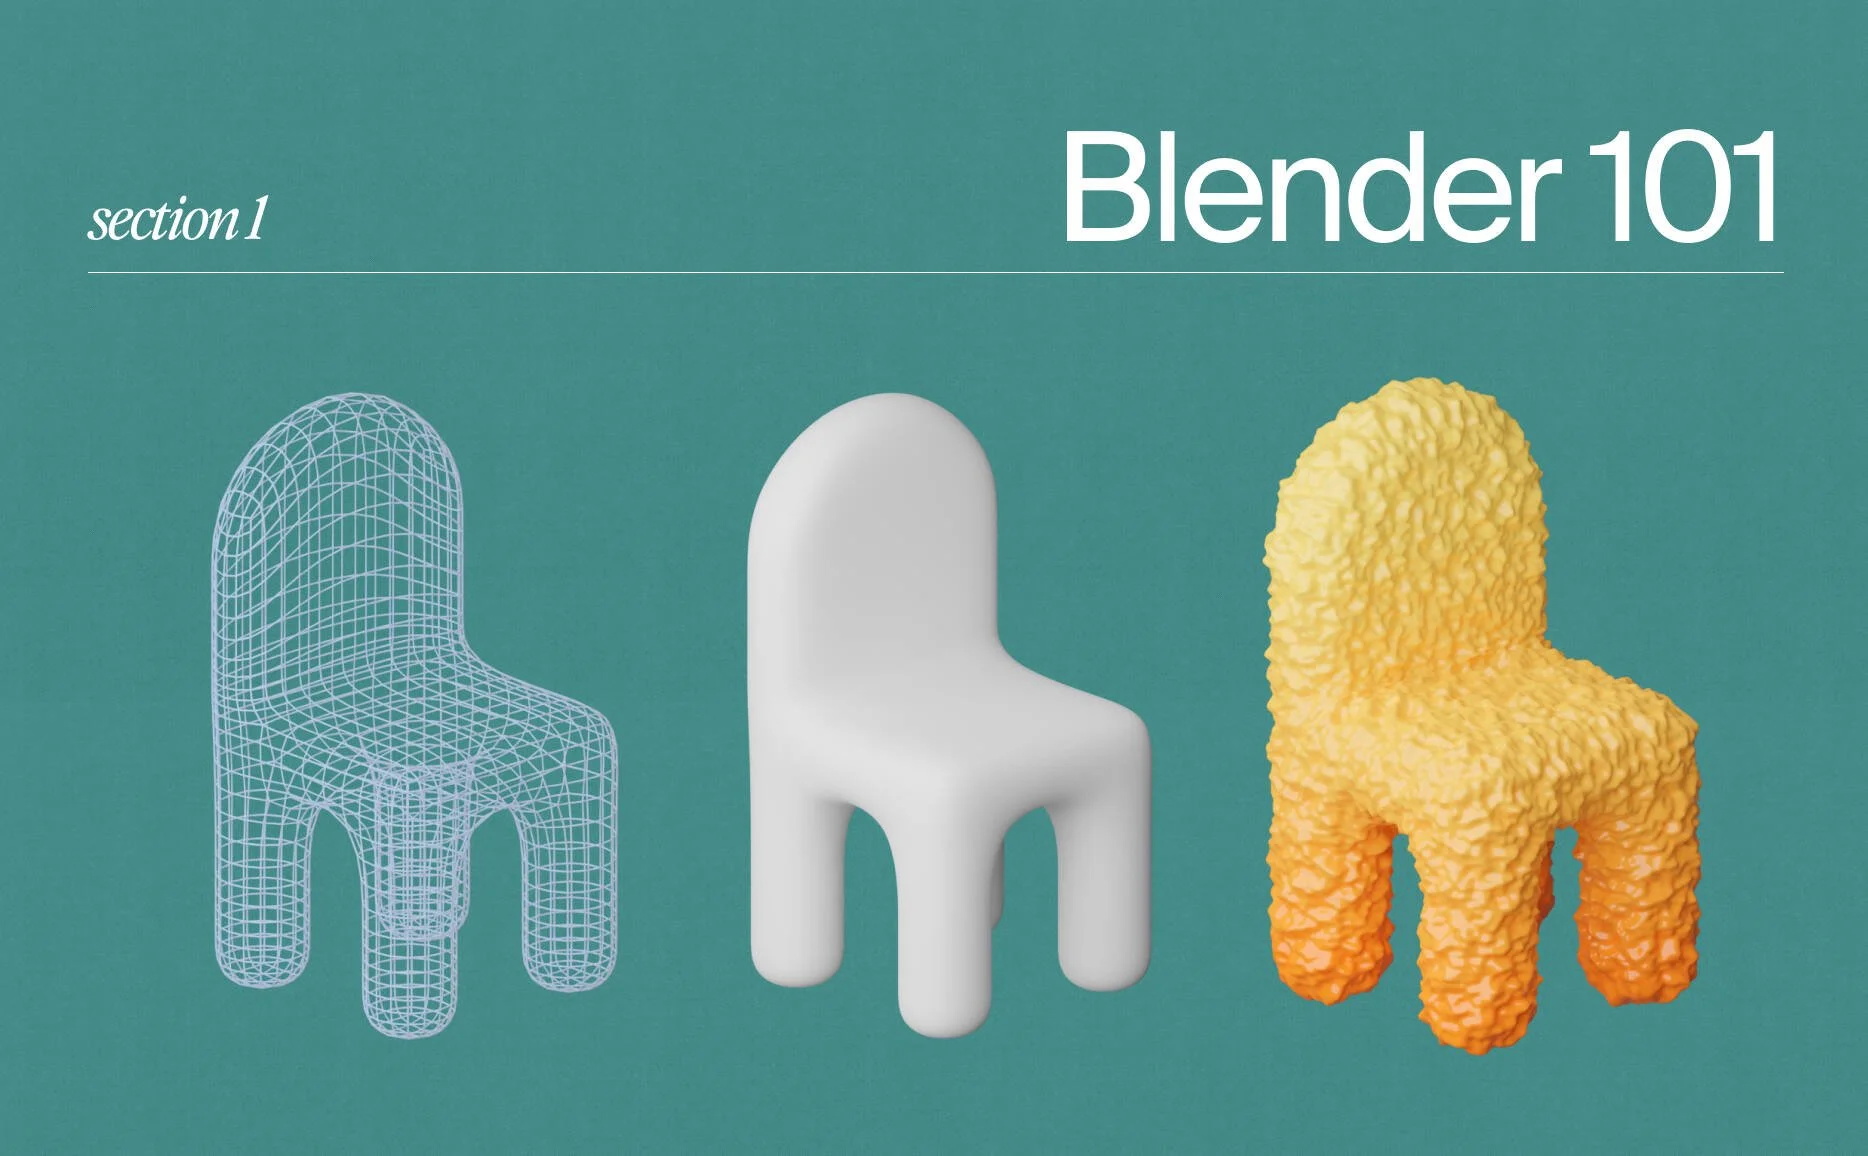
Section 1: Blender 101
This first section will be dedicated to downloading Blender and setting it up to make our workflow easier. In the meantime, we’ll talk a little bit about what our end goals will be (producing a 3D scene that you’re proud of), and then we’ll have an overview of the workspaces available in the software, which will serve as an excuse to check out what areas of 3D we’ll be focusing on: modeling, materials, lighting, and rendering.
Level 1.1:
Installing, Setting Up and Our Goals
What you’ll learn:
Installing and setting up Blender.
Having a soft first contact with the UI.
Going over the workflow and talking about our goals for the course.
We’ll go step by step installing the software and useful free add-ons that a lot of 3D artists usually install to make their lifes a little bit easier. Don’t panic! The UI looks cluttered at first glance but we’ll go through everything you need to know to navigate Blender with confidence.
Assignment:
Play around a little with the software and get used to the interface. It’s enough to take in as of now! Also, go buy a mouse if you don’t have one
3D Blender ✹Course
Section 2: Modeling
In this section we’ll learn about adding objects to the scene, and what kinds of objects we can use in Blender. These are the building blocks that will make up everything we’ll do later in our scene. We’ll also learn how to make basic transformations to objects, and how to navigate the 3D workspace of the software.

Level 2.1: Object Mode. Adding Mesh Objects, Transforms, and Navigating our Scene
What you’ll learn:
What kinds of objects we can have in Blender.
Navigating and arranging a scene.
Basic transformations in 3D space: Moving, Scaling, Rotating.
How to use and visualize the Item Properties panel (N).
In this level, we’ll learn about adding objects to the scene, and what kinds of objects we can use in Blender. These are the building blocks that will make up everything we’ll do later in our scene. We’ll also learn how to make basic transformations to objects, and how to navigate the 3D workspace of the software.
Assignment:
Add a few Mesh Objects to a Scene, and make sure all have different position, rotation and scaling. Make sure of that using the N panel we saw in this lesson.
Level 2.2: Edit Mode. Editing Meshes to give shape to Objects
What you’ll learn:
Using the modeling workspace to enter Edit Mode.
Learning about what we call geometry in 3D software.
Performing basic transformations to the components of an object.
Learning about the tools available in Edit Mode.
This level covers the Edit Mode: the OG way of modeling things in 3D software. We’ll learn about what in 3D we call geometry: vertices, edges and faces. We’ll see that we can move, scale and rotate them, same as if they were Objects. Then we’ll see some of the most common tools inside Edit mode: beveling, loop cuts, extruding, using the knife tool, bridging edge loops, etc., as well as some basic geometry theory to better understand the basis of 3D modeling. Then we will model a basic chair with the tools we’ve learnt.
Assignment:
Model a super basic chair like the one we’ve learnt to model, but make it your own! Move the edges around, scale them… Just play!
Level 2.3: Modifiers. Non-destructive tools to up your modeling game
What you’ll learn:
What kinds of operations we can do with modifiers.
How to add them to an existing object.
Understanding how non-destructiveness is a powerful help in modeling objects exactly how we want them.
How to apply them to make changes permanent, if we wish to.
Now we’re getting to one of the most powerful features of Blender: Modifiers. They are layers of operations that you can apply to your objects in order to change them: You can smooth the geometry, subdivide it, repeat it in an array, deform it, make it attach to a surface of another Object… and a long list of other manipulations. Best part is that you can always hide these effects and go back to your original geometry, or edit them down the line to better suit what you need them to do. That’s why we call them non-destructive! We’ll take our chair and use modifiers to spice it up a little.
Assignment:
Take the chair you designed on the last assignment, and try to add some modifiers to it until you reach a result that you like.
Level 2.4: Other kinds of Objects. Think outside the Mesh!
What you’ll learn:
Curve objects and how to edit them.
Converting them to meshes for further editing.
Up until now, we’ve been using meshes (that is, objects composed of geometry such as faces, edges and vertices) to model stuff in our scene. But there are other kinds of Objects that can add a lot of variety to our shape repertoire, such as curves, which will allow us to make more organic shapes. We’ll also reconvert them to meshes to work in their finer details. With those tools, we’ll learn how to model a design sofa.
Assignment:
Using curves, create 1-2 more objects for your scene.
Level 2.5: Other kinds of Objects II. More Curves + Metaballs
What you’ll learn:
Using the Draw tool of Curve Objects.
Tweaking shapes organically with Proportional Editing.
Using Metaballs as another modeling asset.
Turn these objects back to Meshes so we can further tweak and polish them.
In this level, we’ll keep exploring modeling tools other than Meshes. We’ll use another feature in Curves, the Draw tool, and make use of Metaball Objects, which will both allow us to model more organic shapes, outside of some of the constraints of Mesh-based modeling. With these tools, we’ll model the surface of a coffee table, and a table lamp.
Assignment:
Model an object for your scene using the Curve Draw tool or Metaballs.
Level 2.6: Boolean Operations
What you’ll learn:
What Boolean operations are.
How to perform them with modifiers.
Using Bool Tool to speed up the workflow and unlock Boolean brushes.
We can’t talk about Modifiers in Blender without going over Boolean operations. These are a way to combine or subtract shapes to one another, and they allow us to develop complex shapes while modeling. Once we understand them, we’ll learn to use the Bool Tool add-on, which will speed up the process and unlock some interesting Boolean possibilities.
Assignment:
Model another leg design for the coffee table using at least one Boolean Difference brush. You can then decide to keep yours, the ones that we modeled together, or a mix of both.
3D Blender ✹Course
Section 3: Let’s add some color! Materials & Textures
This section covers how to apply surface Materials to an Object, and how to control the visual look that those Materials give. We’ll go over some Materials basic notions: Roughness, Transmission, Subsurface Scattering, Clearcoating, Normals, etc., in order to understand how objects with a surface Material interact with light and with an environment, and how we can get them to look exactly as we want. We’ll also learn how to apply Procedural and realistic Textures to them.

Level 3.1: The Principled BSDF
What you’ll learn:
Applying materials to an object.
Fine tuning a material’s appearance.
Using the Material Preview and Rendered view modes to visualize our material work.
We’ll head to the Shading Workspace and create a material for our chair. Here we’ll focus on the Principled BSDF shader, an all-in-one material originally designed by Pixar, with fine-grained controls over how it looks.
We’ll also learn how to make procedural patterns for our materials, and go over the concept of normals, a powerful way to give extra detail to an object without actually touching its geometry.
Assignment:
Now that we’ve given our chair a nice material, it’s time to get your objects and start making materials of your own for them! Use the techniques learnt in this level and tinker with all the options until you find something that you’re proud of.
Level 3.2: Procedural Materials
What you’ll learn:
Giving a material procedural color patterns.
Using normals to give an object extra detail without actually modeling.
Using the Material Preview and Rendered view modes to visualize our material work.
In this level, we’ll learn how to make procedural patterns for our Materials, and go over the concept of normals, a powerful way to give extra detail to an object without actually touching its geometry.
Assignment:
Now that we’ve given our chair a nice material, it’s time to get your objects and start making materials of your own for them! Use the techniques learnt in this level and tinker with all the options until you find something that you’re proud of.
Level 3.3: Realistic Materials and Where to Find Them
What you’ll learn:
Downloading free realistic materials from Poly Haven.
Opening them in Blender and applying them to objects.
Learning what textures are.
Procedural materials are totally fine if you want to make stylised looking scenes, but if you want them to look realistic, they start getting really complex really fast! Sometimes it’s easier to just download a material from online resources. Poly Haven contains a library of free-to-use materials: cloth, dirt, rock, concrete, grass, bricks… We’ll go over the process of downloading the components we need for a material, and then importing them to Blender so we can use them in our objects.
Assignment:
Apply a realistic material from Poly Haven to one of your objects, and adjust its UV seams and texture mapping in order to control how you want it to look.
3D Blender ✹ Course
Section 4: Lighting
This section goes over how we can light our scenes in different ways: Light Objects, Ambient Lighting, HDRIs and Emission Shaders.

Level 4.1: Light Objects
What you’ll learn:
Adding light objects to our scene.
What kinds of lights we can use and how each one behaves.
Tweaking the settings of every type of light and understanding how these affect the way our scene is lit.
Entering the Rendered preview in order to visualize how each light affects the look of the scene.
Some lighting tips, such as creating a lighting setup based in a 3-point light system
Let’s make our scene shine! Quite literally. We’ll add light objects to our scene and learn what types of lights we can use in Blender: Point, Sun, Spot, and Area lights. All of them cast light differently and will help illuminate your scene. We’ll also learn how to adjust settings in every type of light object in order to achieve the lighting and mood we need for every scene, and go over a couple lighting tips to make your models pop.
Assignment:
Now that we’ve learnt how light objects behave, delete all the lights we’ve added in the tutorial and light the scene as you see appropriate! Use at least two of the four kinds of lights we’ve checked out, and at least three light objects.
Level 4.2: Ambient Lighting and Environment Textures
What you’ll learn:
Using Ambient Lighting to change how our renders look.
Downloading HDRIs to use as Environment Textures.
Plugging in and setting up Environment Textures.
In this Level, we’ll learn about Ambient Lighting, aka how the light coming from the surroundings of our Scene is accounted for by the render engine as environmental light that feeds into the final look of materials. We’ll also learn how to download free Environment Textures, called HDRIs, and how to use them to alter the look of the Ambient Lighting inside of Blender.
Assignments:
Play with your World material! Change the color, see how it influences color and lighting across the scene, download more HDRIs… Try some variations and settle with the one you like the most. Choose what lighting system fits your scene better: an hdri, light objects or a mix of both.
Level 4.3: The Emission Material
What you’ll learn:
All about the Emissive material
How to apply it to objects in order to have emissive objects in the scene.
Light objects are super useful in that they provide light to a scene but yet they don’t take up any space in it or require us to model anything in order to do so. But, what if you want to have a visible shape that emits light? That’s what The Emissive material allows us to do. We’ll model a squiggly neon lamp to demonstrate.
Assignments:
Using the emission shader, model an emissive lamp for your scene! You can use a Point light object too to fake the impression of even more light coming out of it if you want.
Submission:
Submit screenshot of worksheets in 3d-blender-course・section 4 channel on Discord.
3D Blender ✹Course
Section 5: Your turn!
Some extra Modeling tips
You’ll be a little bit more on your own in this one! In this section, you’ll learn some more secret techniques that I’ve picked up over the years. Then you’ll be set free to experiment with these workflows in order to model something of your liking.

Level 5.1: Rug Making
What you’ll learn:
Using cloth simulations
Using particle systems
Shrinkwrap modifier
Using the Remesh modifier + the Sculpting Mode to create organic shapes.
This level will be a showcase of some more techniques that I find very useful to introduce more shape variety in my renders. In this case, we’ll use the Draw Curve tool and Physics Simulations to make rugs that deform around other solid objects, and use particle systems to give them hair / make them look like textiles.
We will also learn about the Remesh Modifier and use the Sculpting Mode and to have even more modeling resources.
Assignments:
Get creative! Model 2-3 more objects in your own style using the techniques shown in this level, make or download materials for them, and make sure they’re properly lit for the next step, rendering the scene!
Level 5.2: Rug Making
What you’ll learn:
Using the Remesh modifier + the Sculpting Mode to create organic shapes.
This level will be a showcase of some more techniques that I find very useful to introduce more shape variety in my renders. In this case, we’ll learn about the Remesh Modifier and use the Sculpting Mode and to have even more modeling resources. We’ll also learn how to model cables with the Curve Tool.
Assignments:
Get creative! Model 1-2 more objects in your own style using the techniques shown in this level, make or download materials for them, and make sure they’re properly lit for the next step, rendering the scene!
3D Blender ✹ Course
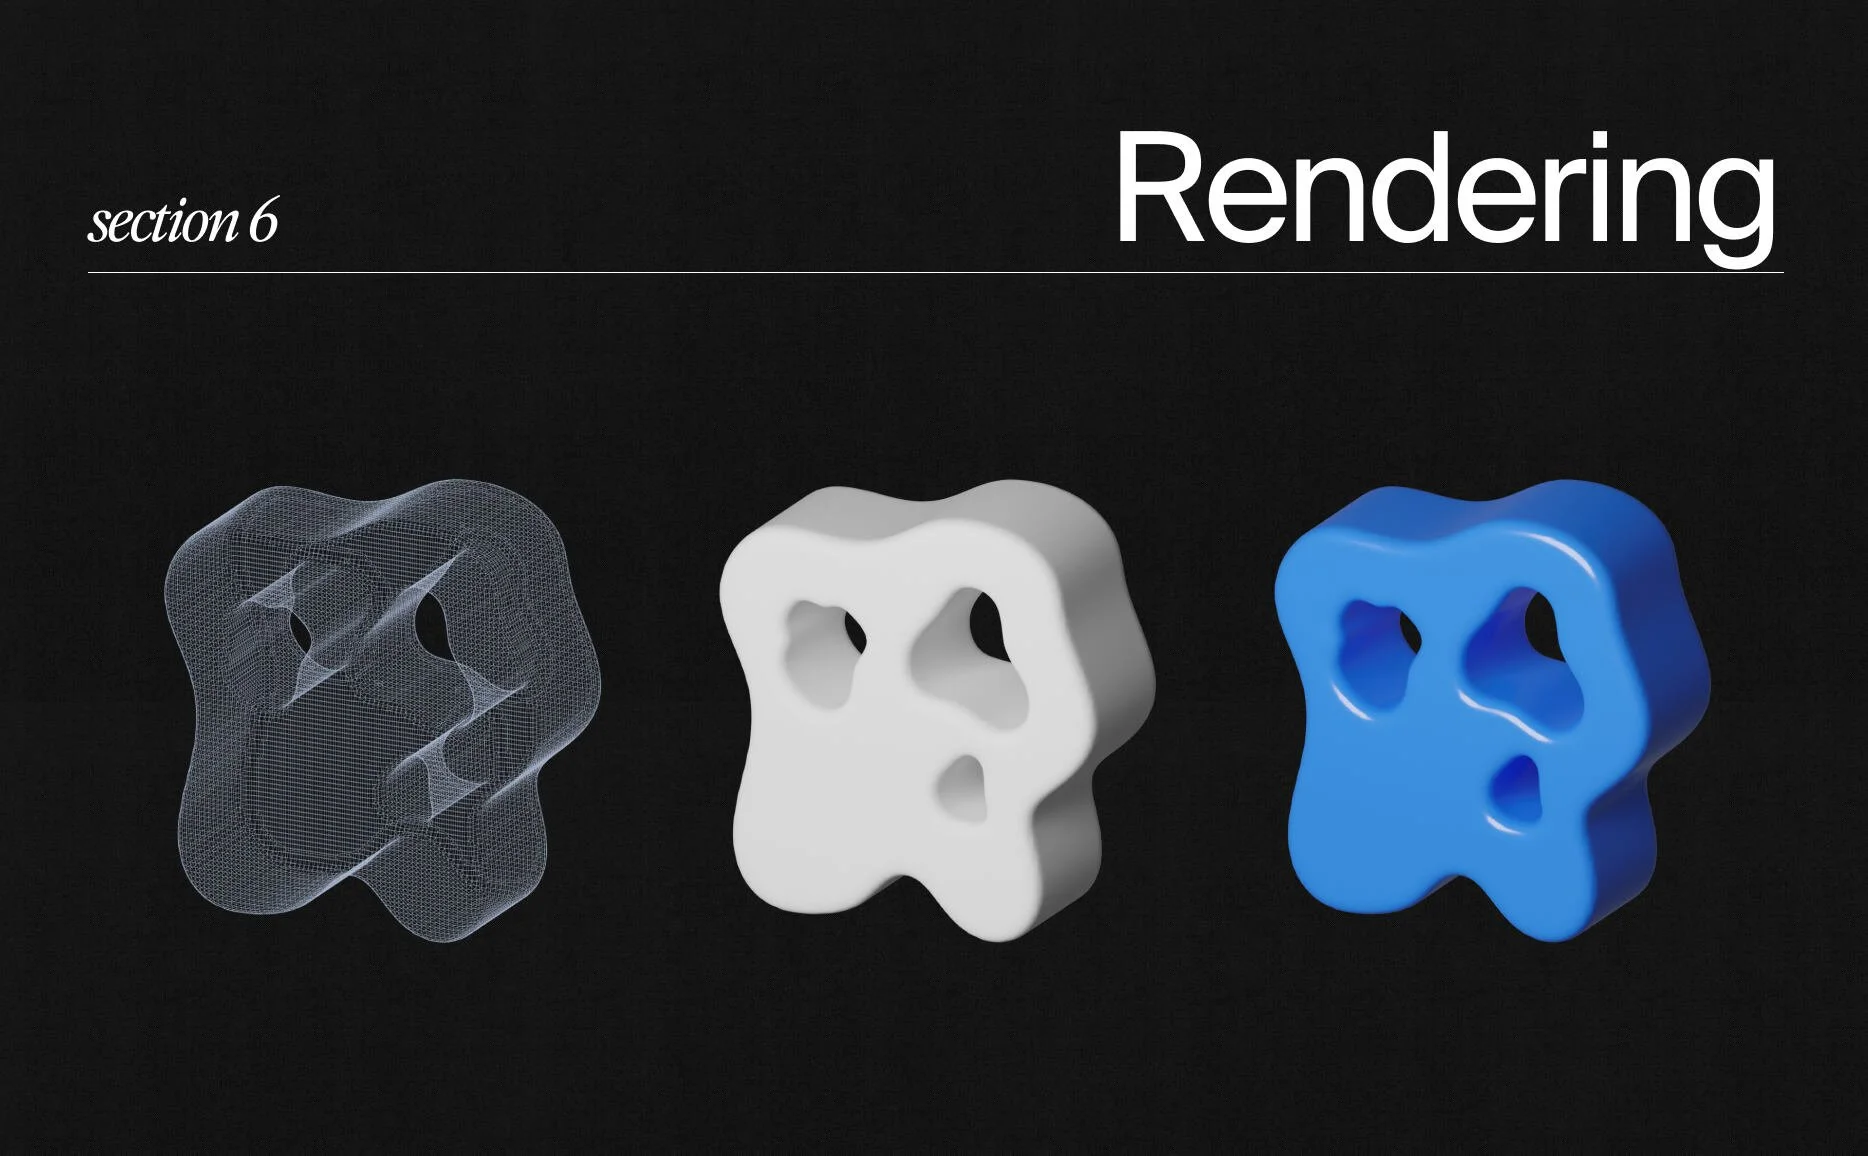
Section 6: Rendering
Okay, let’s grab our virtual cameras because it’s time to take some photos of the scene that we modeled! Or as the 3D connoisseurs would say, let’s render the scene. And on top of that, We’ll learn some tips to control noise and color output in our renders. In order to do all of that, we need to get to know some more objects and options in Blender: The Camera object, the Output tab, Color Management and the Compositing workspace.
Level 6.1: Framing and Composing your Shot
What you’ll learn:
Adding and placing Camera objects in the scene.
Adjusting camera settings in order to achieve different looks.
Fine-tuning scene composition and camera placing in Camera view.
Tuning resolution and aspect ratio in the Output properties.
Some tips for composition and balancing the final image.
Let’s learn about the Camera object, which is another object that we can place anywhere in the scene, just like any mesh or light. With the camera object we’ll get a preview of how we’ll frame the render, and from there we can adjust the final camera and object positioning in order to get a nice composition. We’ll also go over camera settings such as orthographic and perspective modes, focal length, and depth of field, and go over some tips to compose the final Render of our Scene.
Assignments:
Take your camera object to the scene and find an angle that you like! Enter Camera View, adjust the scene, and tweak your Camera and Output settings until you find an image that you like. Don’t forget to regularly check the Rendered preview to make sure you understand the final look of the scene!
Level 6.2: Final look: Color Management and Denoising
What you’ll learn:
Changing the color profile, brightness and saturation of your renders.
What causes visual noise in a render
How and when to use Denoising
Using sample count and the Compositor in order to control how much noise we let in in our final renders
Now that we have our scene and camera set up, the only step left for us to do is to hit the render button! But before that, we’ll learn how to apply different color profiles in our image, as well as control its brightness and saturation. Then we’ll learn about noise in render engines, and what we can do to mitigate it or use it as an artistic choice! With that, our scene will be complete and rendered.
Assignments:
Hit the render button on your scene!! And enjoy the result. Congratulations, you’ve just completed your first scene and render! If you want more, add multiple cameras to your scene and take some extra angles of it, make sure you get as many images as you want.
Course Certificate
At the end of the course you will receive a course certificate!
3D Blender ✹ Course
Syllabus
This course is entirely self-paced so it can be flexible with your schedule. This is our recommendation on how to pace the course if you are able to work on it at least 25 hours a week.
Orientation
Get an overview of the course, curriculum, syllabus, and meet your fellow students!
Week 1: First contact with Blender and modeling basics
This week, you’ll become familiar with the interface and workspaces in Blender and start learning how to model a simple chair.
Assignment:
Finish Videos 1.1, 2.1 and 2.2.
Do the corresponding assignments.
Week 2: Modeling tools
This week, you’ll broaden your modeling skills and get to know more advanced techniques so you are able to get from ideas to shapes in your 3d scene.
Assignment:
Finish Videos 2.3, 2.4, 2.5, and 2.6
Do the corresponding assignments.
Week 3: Materials & Textures
This week, you’ll learn about applying materials to our objects. We’ll see two kinds of materials: procedural ones made entirely inside of Blender, and realistic materials that we’ll download and import from the Internet.
Assignment:
Finish Videos 3.1, 3.2, and 3.3
Do the corresponding assignments.
Week 4: Lighting
Good lighting is at least 60% of a good render. This week, you’ll become proficient in using all kinds of lighting techniques in order to make the objects in your scene shine.
Assignment:
Finish Videos 4.1, 4.2 and 4.3
Do the corresponding assignments.
Week 5: Your turn!
This week, you’ll learn some more very useful techniques to introduce more shape variety in your scenes. Then you’ll be on your own experimenting with these workflows in order to model some more objects.
Assignment:
Finish Video 5.1 and 5.2
Do the corresponding assignments. This is going to be more hands-off, so feel free to spend some extra time experimenting and letting everything we learned so far sink by practicing.
Week 6: Rendering
This is the only step left, and the most rewarding. This week you’ll learn to frame and take a render of your scene, as well as tuning the final image so you’re sure you’ve nailed it down.
Assignment:
Finish Videos 6.1 and 6.2.
Do the corresponding assignments.