Shopify ✹Course Onboarding Guide
Course Portal / Videos
Find the lesson videos in the ilovecreatives portal.
To access the portal, you will need the email you used to sign up for the course.
Course Materials
Grab your Shopify ✹Course Materials in Resources
Course Workbook
Access your Shopify ✹Course Workbook
Resources
Tools, inspiration, and templates for your journey.
Shopify ✹Course
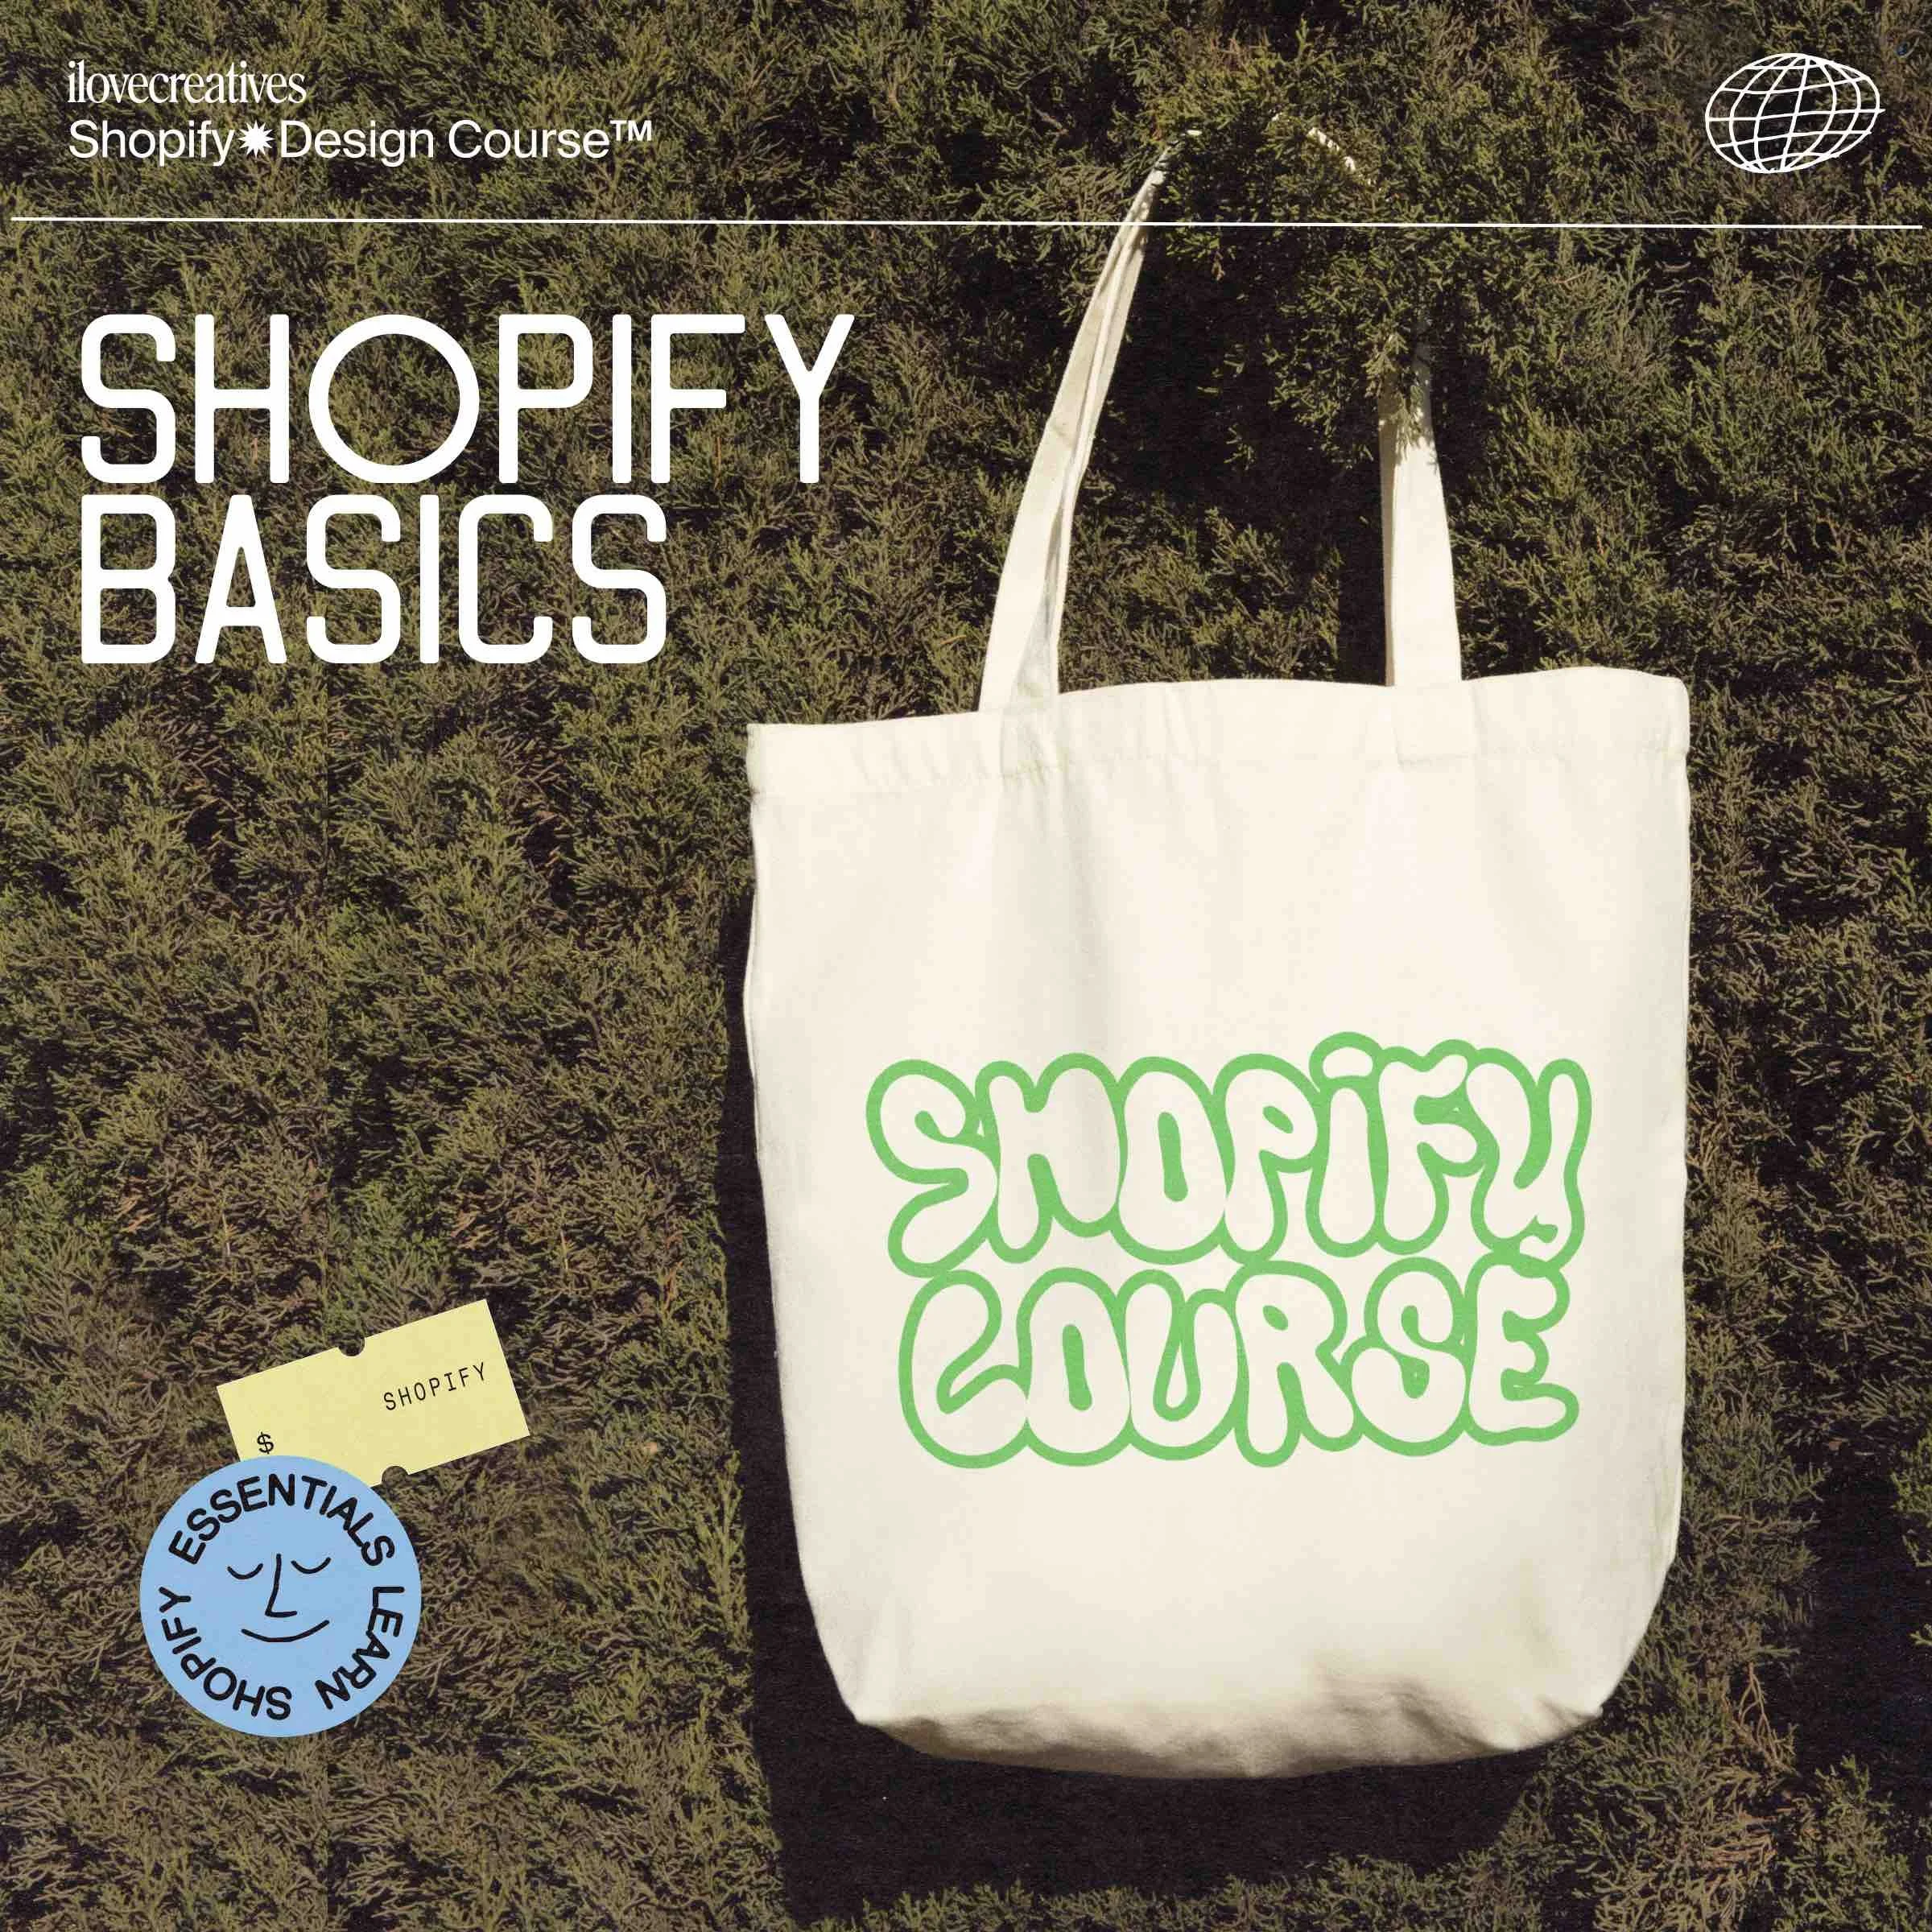
Section 1: Shopify Basics
In this foundational section, we’re learning how to work with Figma, create free Shopify stores, add store content, and edit theme settings—all without touching code!
Even if you’ve used Shopify before, we’ll be going through it with the lens of a designer/developer. We’ll deconstruct what it means to create a Shopify store and build up your knowledge piece by piece, ensuring that you’re ready for coding in later sections.
By the end of Section 1, you’ll know the built-in features of Shopify like the back of your hand, and you’ll be able to push the designs as much as you can without code—which is surprisingly far!
Level 1: Getting Started
Get ready to create a custom Shopify theme. Here we will cover the tools and resources needed to take a Figma design and turn them into a Shopify site. We’ll be making a site for an imaginary client (skincare brand GLOWE), building our Shopify site, and uploading the theme.
What you’ll learn:
Download fonts and duplicate Figma mockups for GLOWE
Sign up for Shopify Partners and create a dev store
Learn to navigate the Shopify admin
Match your theme version to the exact one we’re using in the course
Level 2: Store Objects
What the heck is an object? It’s everything in the store that is not part of the theme: products, collections, blogs, and pages. To set the proper foundation for learning Liquid, you need to start thinking about these in developer terms, which means learning a new vocab word—objects!
What you’ll learn:
Learn the difference between an object and a theme
Create new products and understand each field
Create several types of automated collections and review manual collection
Create pages and review the features of the rich text editor
Create blogs and blog posts and understand the difference
Created a nested hierarchy of collections by using menus
Level 3: Theme Editor
There’s a lot you can accomplish with the Theme Editor’s drag and drop tools. Before we get to coding, it’s important that you know the limitations of your theme like the back of your hand. We’ll go over the Theme Editor interface, the most common settings you’ll need to change, and a super powerful feature called templates. Together, we’ll go over the PDP template and do some fancy stuff you’d be surprised you can accomplish without code!
What you’ll learn:
Learn where themes are stored and their component parts
Review site-wide settings for color, typography, border radius, and more!
Learn how to navigate the Theme Editor and create sections to match the GLOWE home page mockups
Learn to use theme templates: a powerful tool for saving different configurations of sections and blogs and assigning them to specific objects
Customize the PDP template, including blocks for accordions, media gallery settings, and learn strategies for customizing product pages for various store sizes
📦 Submission:
Set up the GLOWE store
Complete Google Quiz to review Section 1
Shopify ✹Course
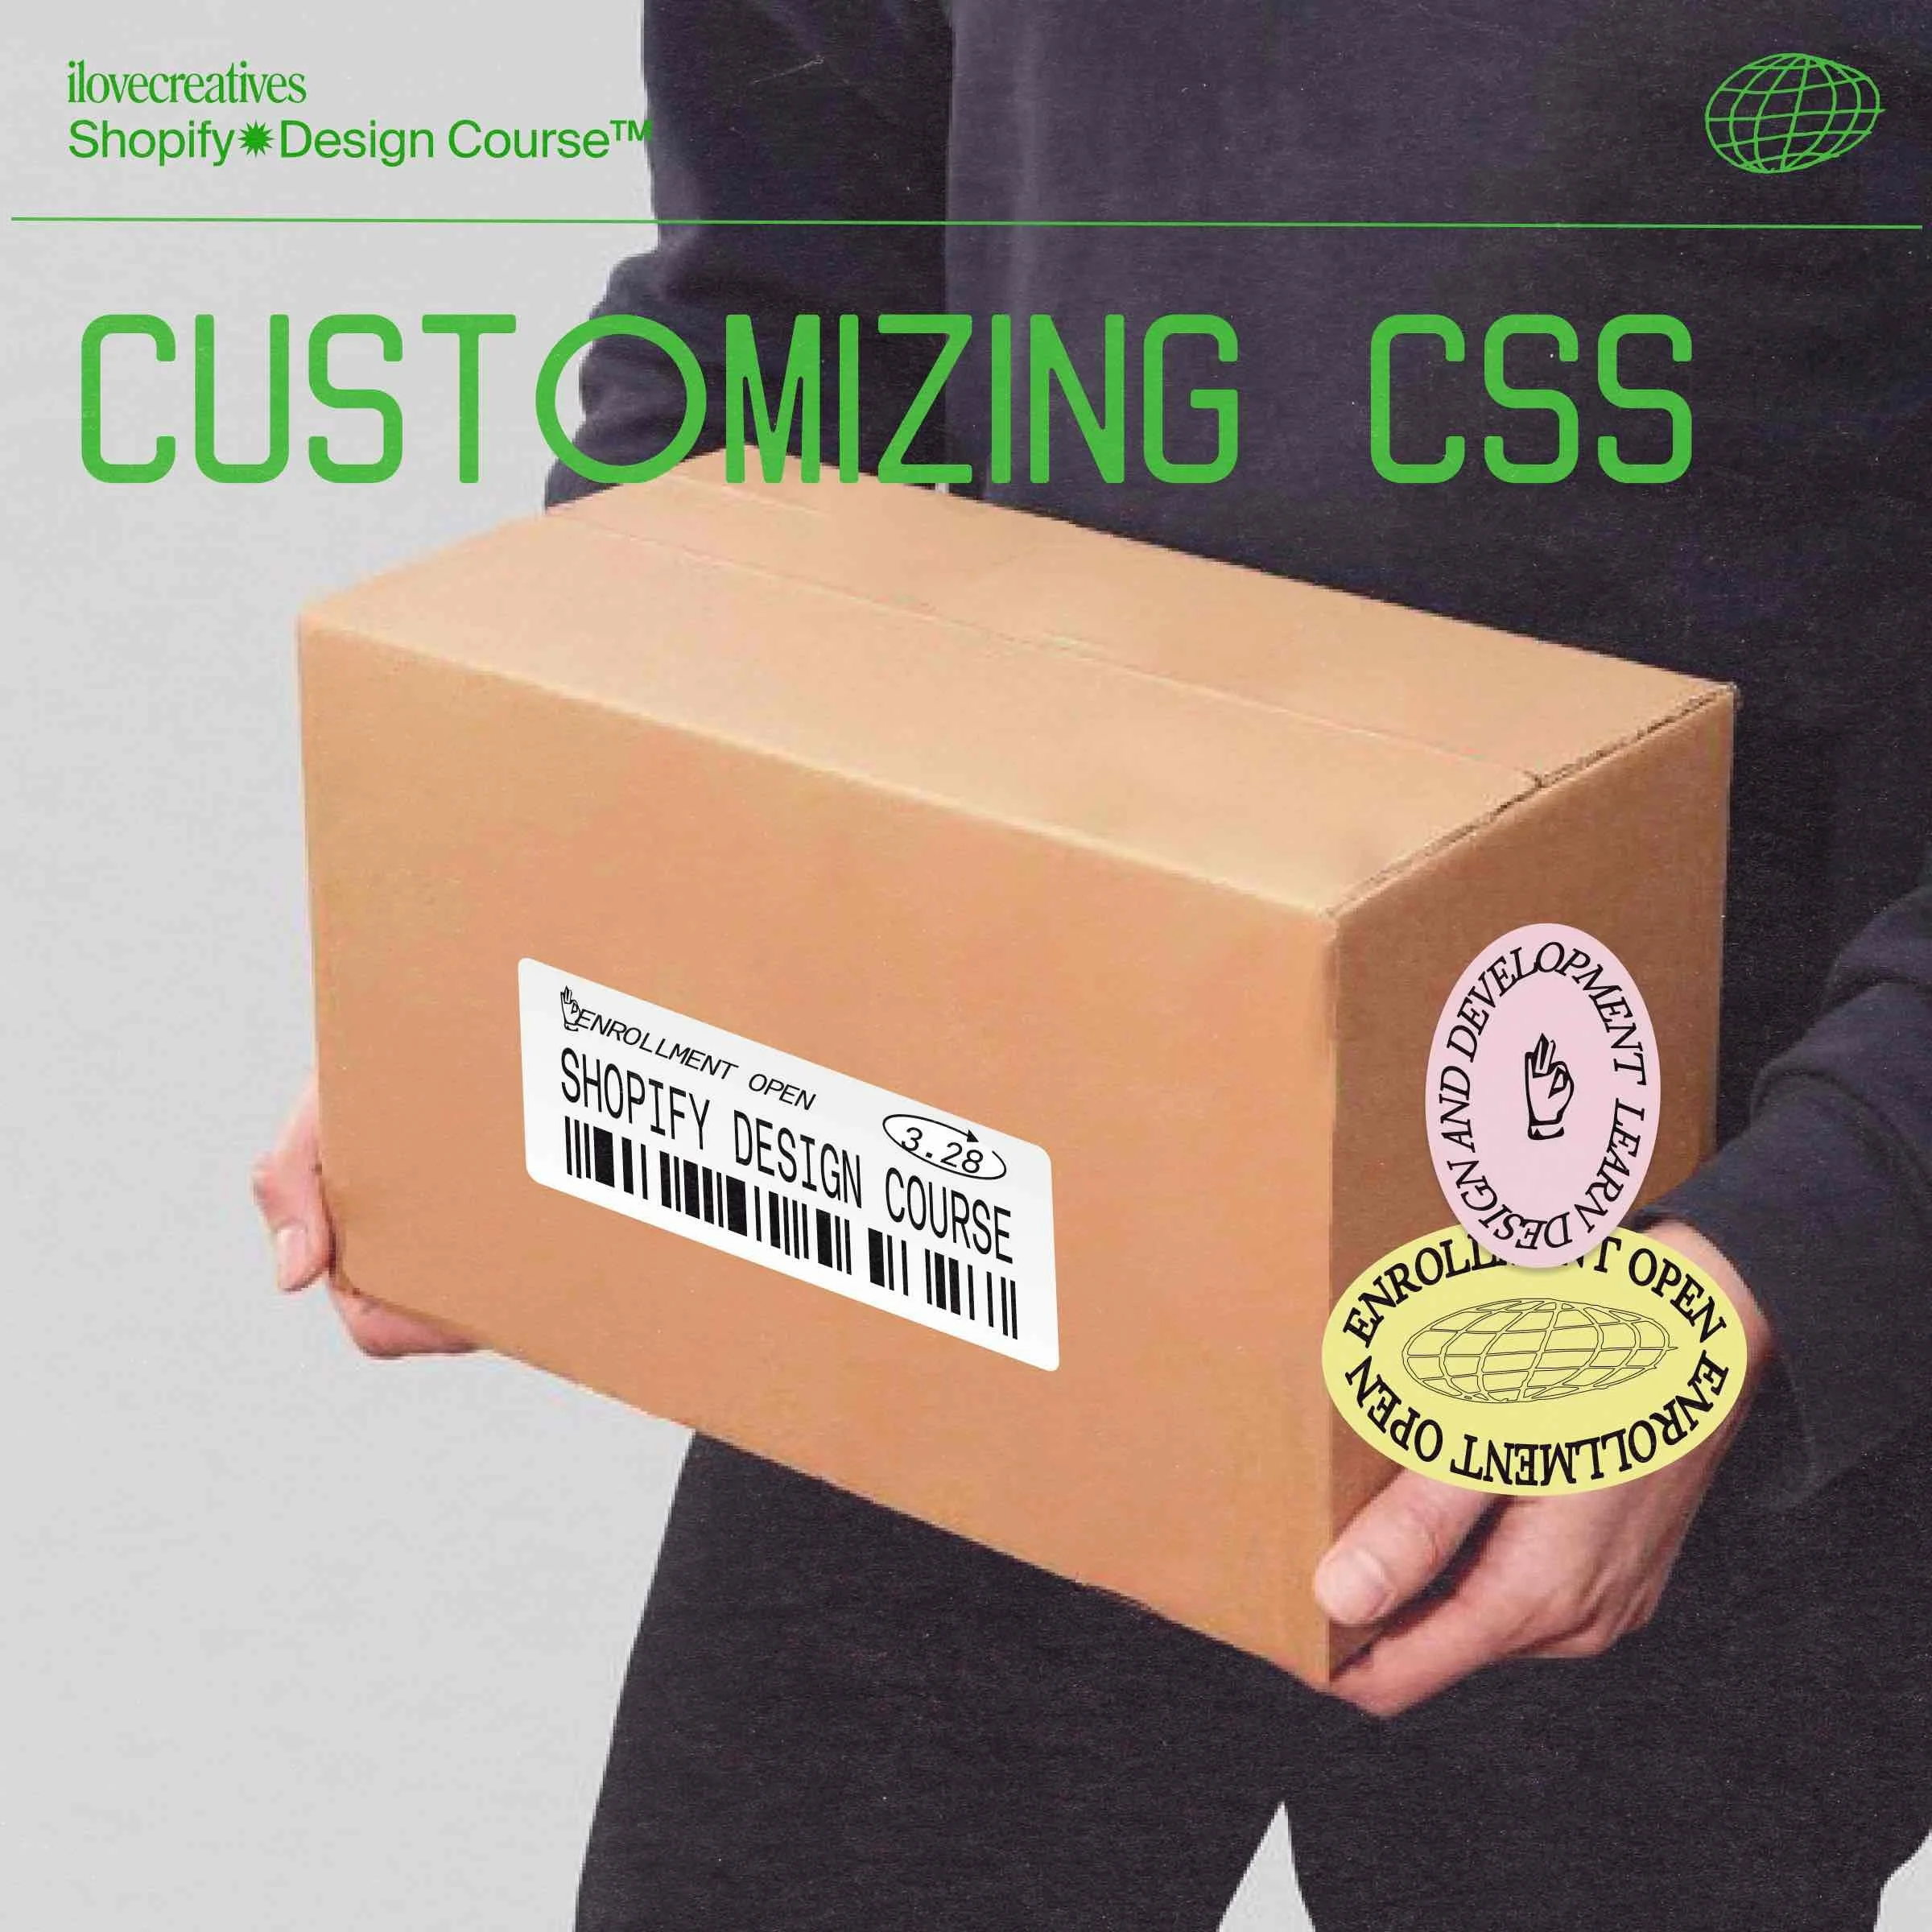
Section 2: Customizing CSS
It’s about that time. We have done just about all we can do with the Theme Editor, and now we can start customizing the CSS. Let’s make stylistic changes to our site using the Code Editor and Theme Files.
How do you navigate a Shopify theme? Why are there so many files? We'll break it all down and help you find the parts that do the heavy lifting.
Level 1: Code Editor
The quickest way to get started editing code in Shopify is by using the built in code editor. We’ll learn our way around it, set up our screens for productivity, and start making some changes to the Dawn theme.
What you’ll learn:
When editing custom CSS in Shopify, you have to work around Liquid files. Learn to recognize Liquid so we can steer clear of it in the next lessons.
Learn how to navigate the built in Shopify Code Editor in your browser, and which directories and files we’ll be focusing on. Set up your browser inspector and prepare for your CSS editing workflow.
Use the powerful “Replace All” feature to speed up changes to your CSS. We’ll be removing the transparency from borders and other areas of the site, programmatically.
Megumi’s favorite CSS resets—applied to the theme. Override CSS and set a blank slate that makes fonts look smoother and removes extra letter spacing, site-wide.
Level 2: Fonts
Get your theme looking unique by adding custom fonts! Learn to work with Shopify’s built-in library, external libraries, and even uploading your own files.
What you’ll learn:
How to edit theme.liquid to add custom font scripts to the <head> tag
Learn how to convert desktop fonts to webfonts
Use the Shopify Code Editor to upload webfont files and add them to your CSS using just one line of Liquid, and get a preview of why we need to use Liquid for assets.
Use CSS to connect all font files to a single font family with different weights. Get organized and learn a strategy for font embeds on the web, then modify the CSS variables to apply this font to all headings.
Level 3: Custom CSS
Using the GLOWE theme as a guide, we’ll add custom CSS to make the header section match the mockups. We’ll go over CSS variables, responsive media queries, and CSS Grid and Flexbox.
What you’ll learn:
Put your CSS editing workflow into practice by changing the announcement bar font and matching the letter spacing to the Figma mockups. You’ll also learn to use CSS variables to make it easier to swap fonts in the future.
We’ll think about responsive design (aka it looks good on all devices) and media queries as we consider how to replace the “Search” and “Cart” icons with text links in the header.
Get a crash course in CSS Grid & Flexbox as we traverse through the inspector to create a seamless, pixel-perfect grid system for the header nav.
Level 4: Deconstructing Code
The part that gets the most attention on a website is the part above the fold. We’ll be using the inspector to locate CSS files and learn how to target specific elements within the Dawn theme.
What you’ll learn:
We’ll assess the hero section in the mockups and plan out what we need to change in CSS. Hero section = above the fold = “Image with Text” section that we created earlier!
Dig through the inspector as we excavate a border-radius from a complex nest of elements. Learn to target elements that are part of the Image with Text section without affecting anything else on the site.
For the heading, we’ll apply a fluid type hack that changes font size depending on your responsive browser width. Neat.
Change the button to a text link, change the font, and learn to remove borders that are actually shadows in disguise!
Level 5: Advanced Section Styling
When you’re editing CSS, you might find yourself limited by the available ways to select elements. In this level, we’re utilizing one of Shopify’s greatest strengths—the ability to edit HTML directly.
What you’ll learn:
How can we edit the styles in the “Page” section that displays dynamic content from a page object? There are no unique CSS classes we can use, so we’ll have to create our own by modifying the HTML in the “What we do” section!
Where can we find the proper file to edit the HTML? Learn to open the home page template file to find out where to look.
Open the page section file and add a custom class to the <div>
Use the new CSS class we just created to customize the padding, heading, font size, and image size. Learn a framework for applying these custom CSS techniques to the rest of the Shopify site.
📦 Submission:
Customize the GLOWE store with CSS
Complete Google Quiz to review Section 2
Shopify ✹Course
Section 3: Learning Liquid
We’re diving into Liquid to create our own custom sections! Up until now, you’ve gotten a sense of the difference between store objects and themes. Now we’re going to manipulate the Theme Editor directly—unlocking endless possibilities for layout and design. We’ll even put on our UX Design hats as we customize the Theme Editor itself.
Liquid is a super powerful templating language. Even though we’re just scratching the surface of its potential, you’ll learn to create image uploaders, custom metafields and blocks, and how to create sections out of any webpage or snippet you might already have. These foundational concepts will set you up to customize the heck out of themes, and it’ll get you to a point where you can actually understand what they’re talking about in the Shopify developer docs.

Level 1: Liquid Syntax
Learn the basic types of Liquid code you’ll be using and apply your knowledge by creating a CSS class that changes on each page with just one line of code.
What you’ll learn:
We’re switching to the SPOONS theme, installing new fonts, and opening up new Figma mockups. We’re also changing our mindset, since Liquid is all about dynamic content—aka designing and coding for things that are ever shifting and changing.
Learn how your website displays content—from themes, sections, JSON templates, and what you edit in the Theme Editor.
Formal introduction to Liquid and a brief history of its applications.
Learn to recognize variables and how they relate to objects and their properties.
Apply what we just learned about Liquid variables to create the ultimate CSS hack, which will generate a unique CSS class for each page template from just one line of code.
Learn how to recognize tags and how they control the logic of the theme.
📦 Submission:
Set up the SPOONS store
Level 2: Conditional Logic
If this, then that! Learn to navigate conditional logic to add image files for the badges that show up on product cards. Plus, learn a methodology for creating new badges using custom fields that you get to define.
What you’ll learn:
To change regular old badges to awesome product card stickers, we’ll need to navigate Liquid files and change the variables. This is a necessary first step before we start editing custom sections!
Add new image assets for the “Sale” and “Sold Out” product badges. Style them by creating a custom div wrapper and CSS.
Create a “Best Seller” sticker by creating a custom metafield. Write a simple tag for conditional logic to display the sticker when the product metafield is enabled.
📦 Submission:
Add custom product stickers for “Best Seller”, “Sale”, and “Sold Out”
Level 3: Create Blocks
Add a new sticker block to an existing section and learn the basics of JSON syntax. Along the way, you’ll learn to modify the Theme Editor UI to add a custom dropdown and slider that links to your CSS.
What you’ll learn:
To create custom blocks, we need to go over JSON basics. We’ll add this skill to our knowledge of Liquid, HTML, and CSS to create a custom image picker block that allows you to add, position, and rotate images.
JSON for blocks lives inside Liquid files and defines what you see in the Theme Editor. We’ll review the basics of how variables, JSON, and the Theme Editor combine to produce editable fields.
One section can contain multiple blocks—which is why we need to loop through them in our code. Instead of just writing a variable once, we need to create a placeholder for multiple blocks.
Now it’s time to create your first block by editing the JSON schema, adding custom HTML and Liquid variables, and finally some custom CSS.
Since JSON controls what you see in the Theme Editor, this is a pretty pivotal moment in the course where you can finally take control of these dropdowns we've been using this whole time—and change the contents to fit your needs! In this lesson, we will modify the block we just created by adding settings for horizontal and vertical positions. Learn how to link the dropdown values to CSS classes.
Build a slider UI in the Theme Editor to control the rotation of each sticker block. Learn when to use inline CSS vs. classes, and level up your ability to design like a developer!
📦 Submission:
Create a custom block!
Level 4: Create Sections
Learn the steps necessary to convert any HTML page to a custom Liquid section. This will unlock your ability to create unique layouts in Shopify themes and link them to the Theme Editor UI.
What you’ll learn:
Download the demo HTML and CSS files and get an overview of how we’re going to transform it into a Liquid section.
Create a new file in the sections directory. Add the bare minimum of Liquid and JSON to get your blank slate ready to go.
Create a unique CSS file and link it to your section. Once you add HTML, you can technically publish the section like this—if you’re okay with not being able to edit it in the Theme Editor, that is!
Add a new text field to the section, and use Liquid to repeat the text multiple times from the same variable. How efficient!
Create more fields and learn the difference between “text” and “richtext” input types.
Add two image pickers and create some conditional logic to account for empty states.
Think like a UX Designer and organize the Theme Editor UI by adding headings and helper text. Now your custom section is complete!
📦 Submission:
Create a custom section!
Complete Google Quiz to review Section 3
Shopify ✹Course
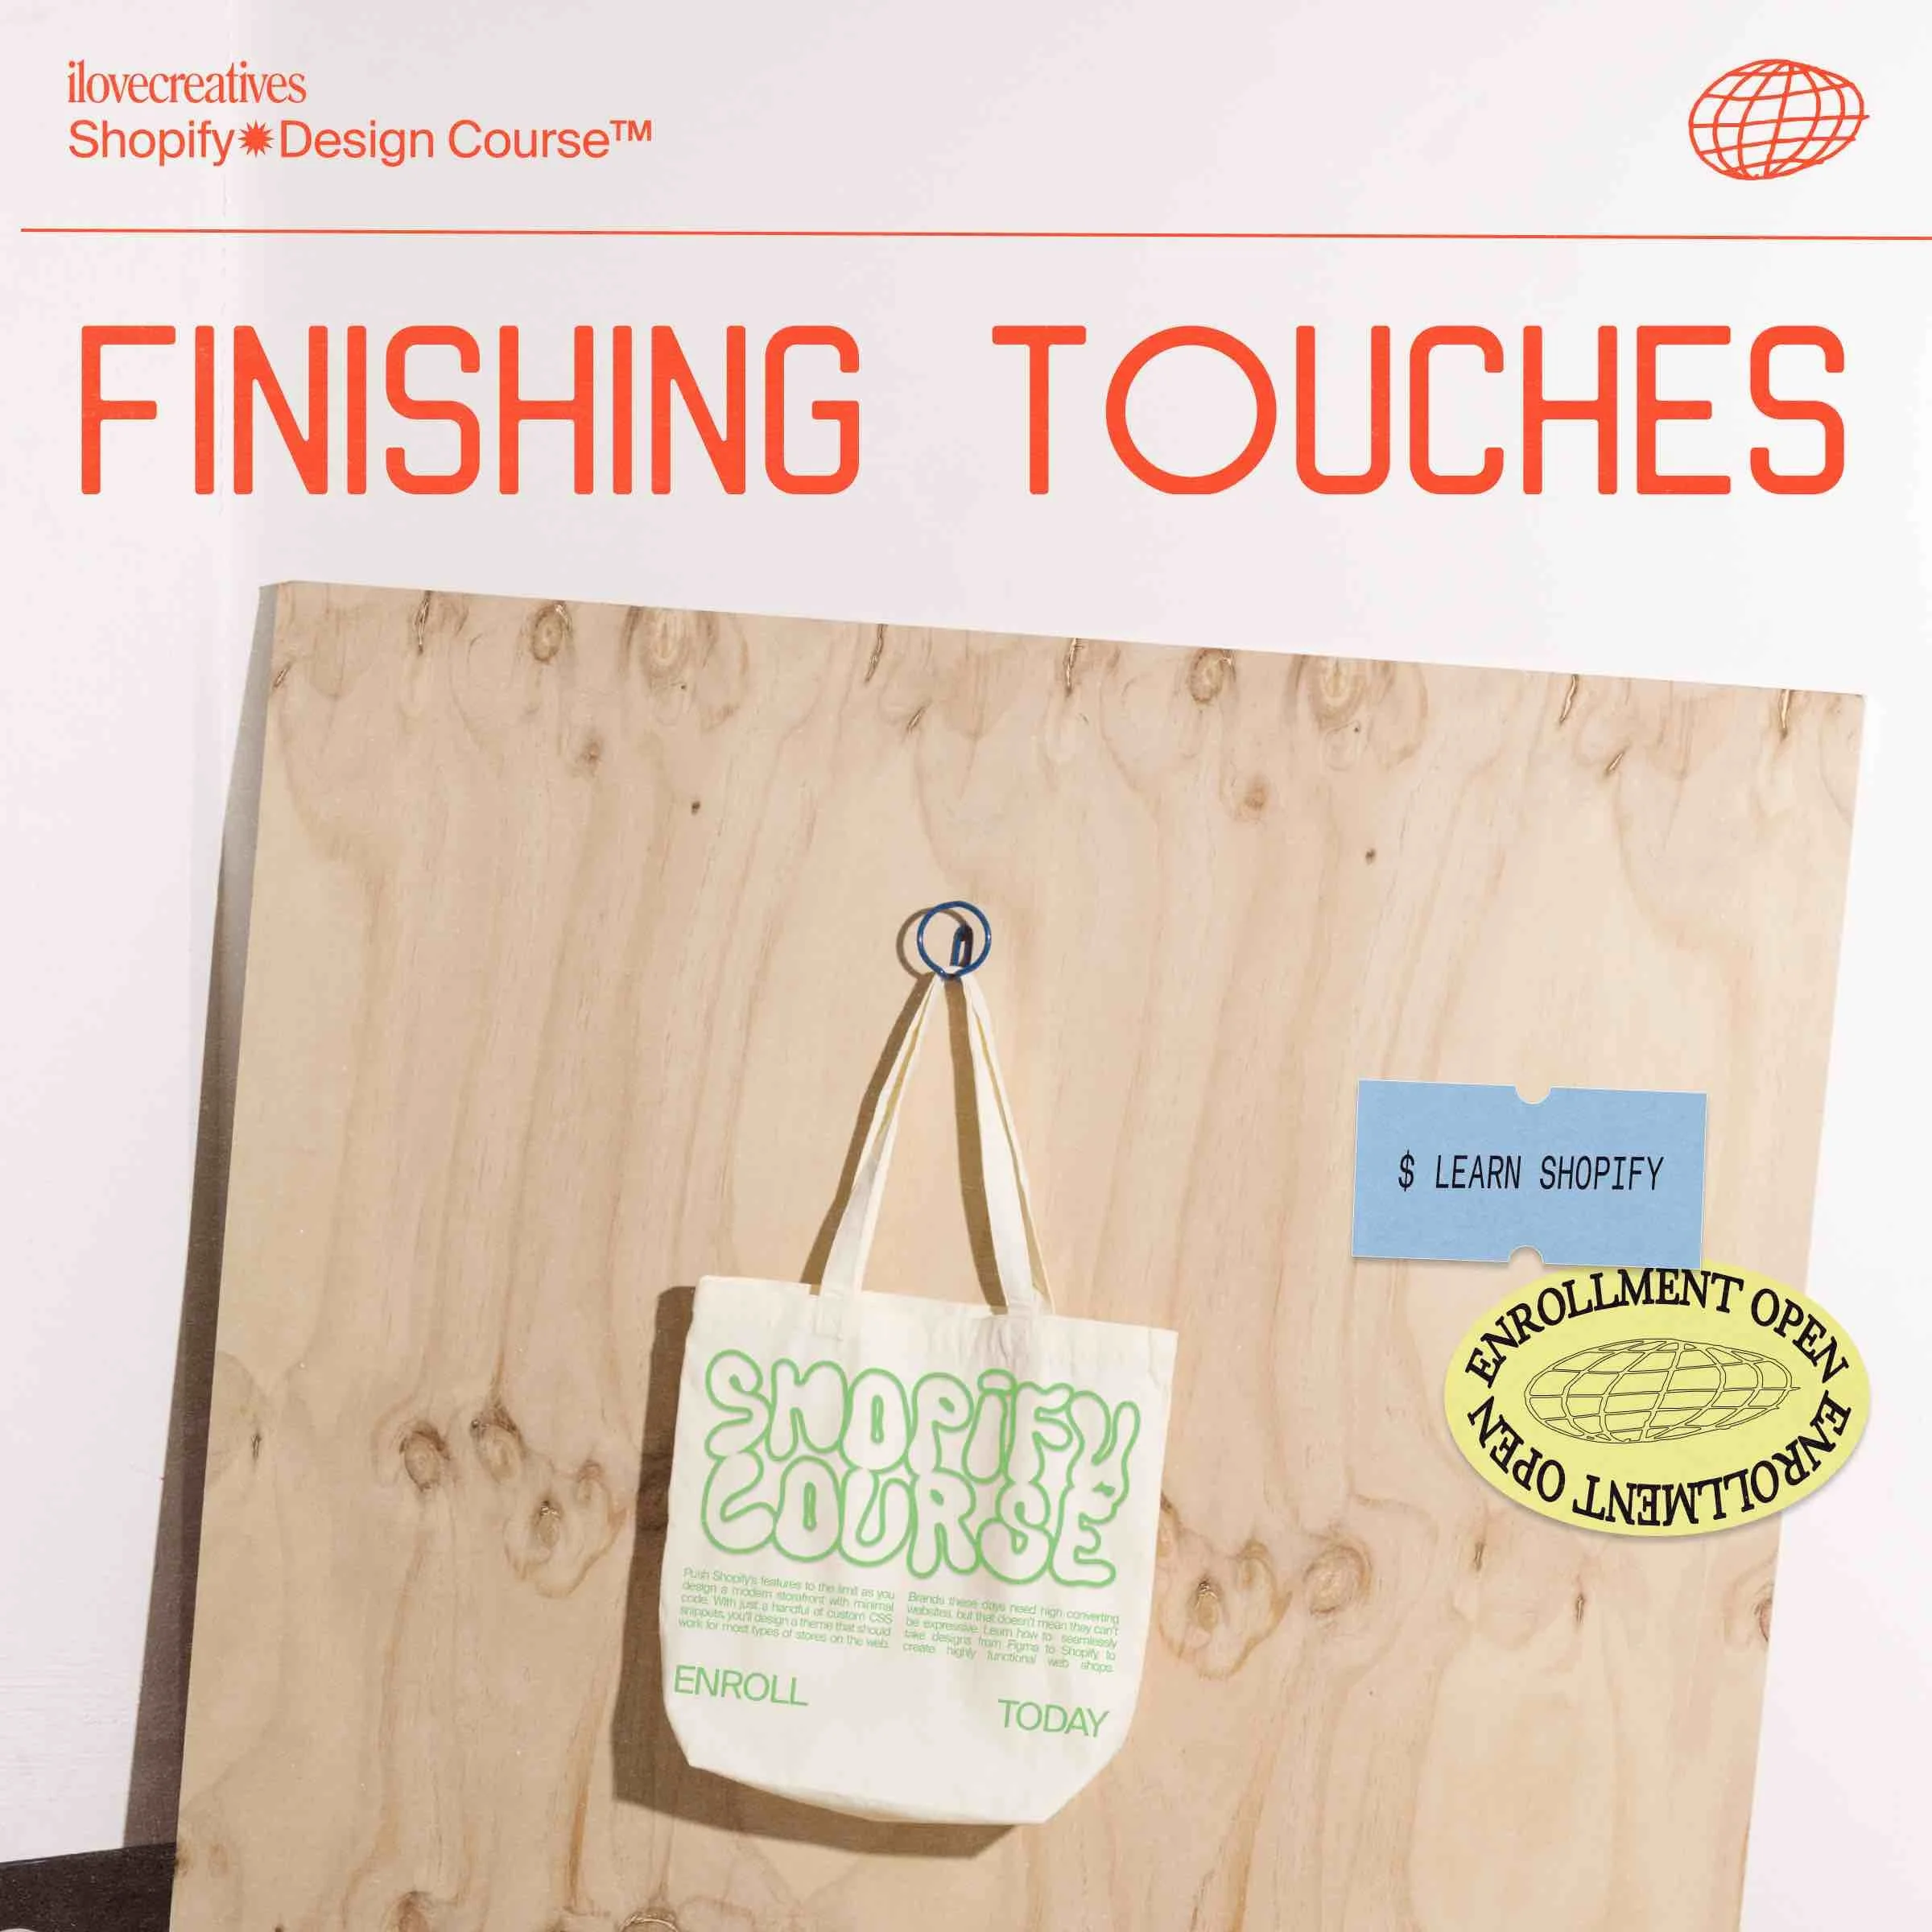
Section 4: Finishing Touches
There’s more to Shopify stores than just theme development. There’s a whole suite of apps that add new features, plus some hidden store settings that make your store feel more unique. This section covers custom scripts, test orders, transferring store ownership, and all the steps you’ll need to take before launch.
Level 1: Shopify Apps
Now that you’ve learned how to add your own sections, you have a better understanding of what is possible with Liquid alone. Armed with this knowledge, we’ll augment our understanding of when custom scripts and apps are necessary by exploring the Shopify App Store and installing a Product Reviews app.
What you’ll learn:
Apps are injections of Liquid and Javascript to augment your store’s functionality. Tour the App Store, learn about recommended apps, and learn how to test them in your dev store.
Together, we’ll install and style a Product Reviews app and think about all the possible edge cases and states that will need custom CSS.
Learn to install custom javascript, email newsletter signups, and marketing pixels. Get comfortable adding scripts all over your theme!
Level 2: Launch Checklist
Before you launch your store, there are several administrative tasks that need to be taken care of to make it usable. We’ll also go over some ways to customize your store’s design that fall outside of theme development—such as Checkout and Email Notifications.
What you’ll learn:
A checklist to go through before publishing your store, including client education and theme documentation.
We go through store settings that you need to configure before going live — such as shipping zones and checkout.
We touch on legal compliance and learn to use the Shopify generator to create TOS and Privacy Policy, and how to be ADA compliant.
Set up a Test Payment Processor so you can go through the entire checkout flow yourself, triggering emails and confirmation messages so you can get the full user experience.
Learn about Shopify Plans so you can recommend them to your clients. Transfer ownership of your dev store to a merchant so they can enter billing information.
Remove the password and publish your theme! Right after launch, take screen recordings to document your work for your portfolio.
📦 Submission:
Complete Google Quiz to review Section 4
Shopify ✹Course
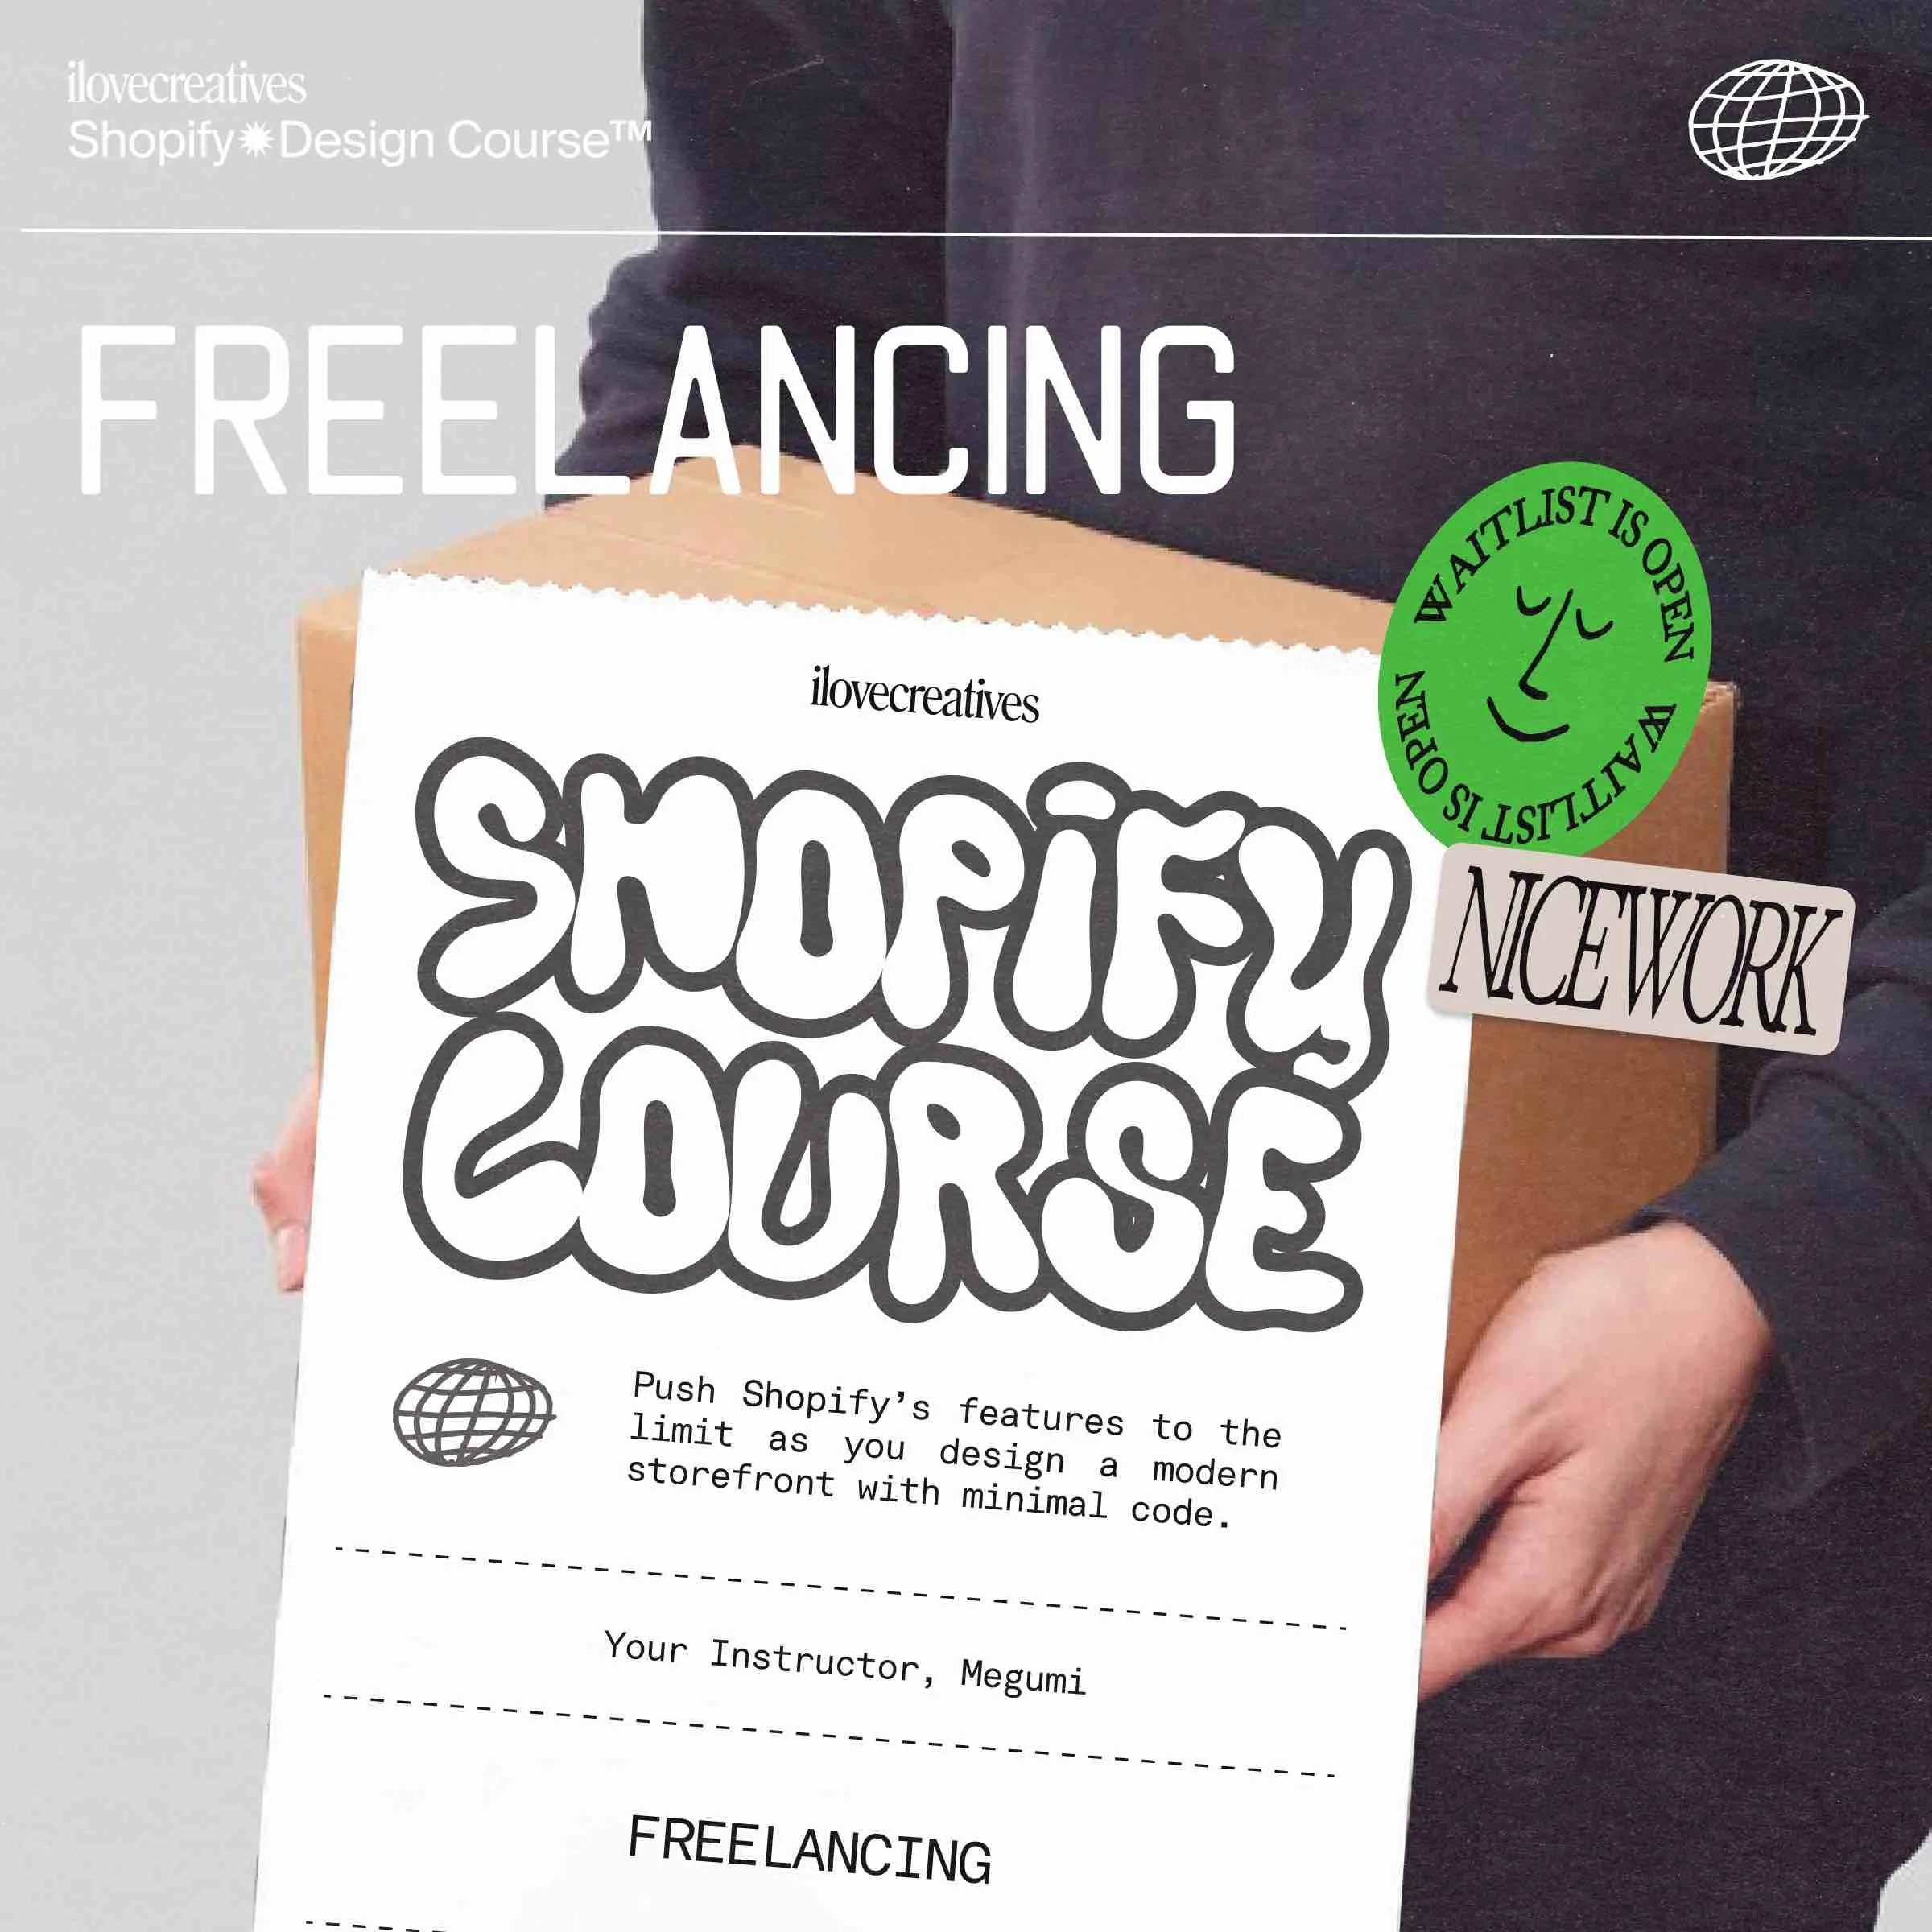
Section 5: Freelancing
Now that you’ve got the skills to make a Shopify store, let’s talk about how to get work. So far, we’ve only been discussing development. But what about everything that happens before and after that? We’ll touch on clients, pricing, logistics, and also how to make designs in Figma and how to present yourself as a multifaceted designer/developer.
Level 1: Trajectory
Let’s back up a bit and think about where you want to go on your freelancing journey. What have we learned so far, and how can you apply it to your unique path?
What you’ll learn:
Overview of the Shopify landscape, from 1.0 to Headless CMS, and where our knowledge fits in.
What can you confidently offer to clients after this course? How can you assess where you’re at and think about whether to apply design or development skills (or both) for future projects?
We talk about three strategies for advancing your freelancing career—working for free, signing up for marketplaces, and word of mouth referrals.
Let’s crush some dreams right now. The reality of Freelancing. The real talk. The Real Freelancing Schedule. How to be your own boss, which is not all rainbows and butterflies all the time. If you know some of these hard truths ahead of time, you’ll be prepared for the dips, and better able to enjoy the upside of freelancing!
📦 Submission:
Self Care Plan
Level 2: Finding Clients
Now that you’ve assessed yourself and your boundaries, you can think about who you want to work with. Who is your ideal client, and how can you prepare your work to meet that client’s needs?
What you’ll learn:
Maybe you don’t know who this is yet, and that’s fine! We’ll talk about some ways you can draw on your life story and your background to get some clues on what project you want to go after.
Portfolio walkthrough! Go through Megumi’s portfolio and see why things are where they are, and get some advice on keywords that demonstrate that you know what you’re talking about.
Once you know what type of work you want, how can you tell people that you’re able to meet their needs? We go over online and IRL techniques Megumi has used to get a healthy list of sales leads.
You’ve got your portfolio, you are at an event, what do you say? We’re going to plan this out ahead of time, so you will feel confident selling your skills whenever the moment arises.
We’ve been thinking aspirational for most of this level—now let’s back up and think about where you’re at today. What is step 1 to get on your ideal path?
📦 Submission:
Pick Your Dream Project
Level 3: Sales
Congrats, you’re now a designer who can code. A creative coder. A slashie, and that’s hard for the world to understand. In this level, we’ll go over how to sell your skills and services and find the right clients.
What you’ll learn:
Let’s think like a salesperson with a lead gen funnel. Wait, what even is that? Here’s a quick crash course of the methods you should use to sell your skills and get work.
Essential systems and software for staying organized while you’re booking new work. Go over Megumi’s methods for managing sales lead information, booking calls, and more!
Congrats! You’ve booked an intro call with a potential client. How should you prepare? What should you do to practice and feel confident? How much research should you do beforehand?
This is an opportunity to ask questions (to build a scope of work) but also to sell your services simultaneously. What are the things you absolutely must discuss during every sales call, and how can you close out every call making a great impression?
Level 4: Money
How much should you charge for Shopify services? We provide the tools for you to figure out how to price your services in your estimates—plus some helpful tips on negotiation and common billing scenarios.
What you’ll learn:
Ok, the big question on everyone’s mind is… how much should you charge for a Shopify site? We’re demystifying this by providing a breakdown of pricing structures, example pricing, and how to price your work to meet your goals.
How to prepare a scope of work for your client? Estimates are an essential part of your sales process. Together, we’ll go over the Project Estimator spreadsheet.
You got the job! Now it’s time to seal the deal with a literal contract. How much should you ask for as an initial deposit? Which systems should you use? And what contract terms do you need to include?
Level 5: Project Management
Your freelancing career will go a lot smoother if you stay organized. Here are our learnings on working with clients, collaborators, schedules, and most importantly, yourself. We’re putting on our Project Management hat now and going through all the steps of a real project.
What you’ll learn:
Organizational tools + file management
Client communication
How to work with designers, developers, and agencies
Site handbook creation
Ongoing work options
Level 6: What’s Next?
If you’ve ever worked (or shopped) at a retail store, you know that upselling is the name of the game. Luckily, the internet is complicated af, and you have many paths available to you in your freelancing career. This level walks you through some of your options so you can see what sparks your interest, and what future skills you’d like to learn.
What you’ll learn:
What if Shopify launches a new feature? Here’s how to stay updated on new platform updates and keep learning and augmenting your Shopify skills. It’s an additive process, and everything you learn will just amplify the foundations you built during this course!
In addition to Shopify design & development, what other services do clients typically want? We’ll go over the landscape of complementary skills, such as SEO Audits, Accessibility, Brand & Identity Design, and explain what that job entails.
As a freelancer, you have to perform a lot of different job responsibilities as you run your business. How can you think from the perspective of a business owner? We’ll leave you with these final words of advice before you set off and spread your wings.
📦 Submission:
Create a custom theme
Shopify ✹Course
Syllabus
✹ This course is entirely self-paced so it can be flexible with your schedule. This is our recommendation on how to pace the course if you are able to work on it at least 25 hours a week.
Week 1:
Shopify Orientation
This week, you’ll create a store, get familiar with Shopify’s interface, and start styling your site—all without writing code!
Assignments:
Finish Videos 1.1.1 - 1.3.5
Submit your store URL
Work on your first site (1-3hrs)
Submit Section 1 Review Quiz
Week 2:
Under the Hood
This week, you’ll set up your code editor, upload fonts, and start getting familiar with CSS!
Assignments:
Finish Videos 2.1.1 - 2.4.4
Submit CSS Intro assignment
Work on your first site (4-8hrs)
Week 3:
Advanced CSS
This week, you’ll apply what you learned with CSS for that final polish.
Assignments:
Finish Videos 2.5.1 - 3.1.6
Work on your first site (4-8hrs)
Submit Section 2 Review Quiz
Create SPOONS store + add content
Week 4:
Learning Liquid
This week, you’ll get started with Liquid and JSON as you add custom stickers!
Assignments:
Finish Videos 3.2.1 - 3.4.7
Work on your second site (4-8hrs)
Submit Section 3 Review Quiz
Week 5:
Real Life Applications
This week, you’ll learn how to publish your store, go over a launch checklist, and start thinking about dream projects.
Assignments:
Finish Videos 4.1.1 - 5.2.1
Work on your second site (2-4hrs)
Submit Section 4 Review Quiz
Week 6:
The Whole Lasagna
This week, you’ll learn project management skills and think about selling your services, plus you’ll create a custom-designed store!
Assignments:
Finish Videos 5.2.2 - 5.6.3
Work on your third site (8-10hrs)
Submit Custom Theme assignment
*This is going to be more hands-off, so feel free to spend some extra time experimenting and letting everything we learned so far sink in by practicing
Upcoming & Past
Workshops and Events


ℭommunity ℰvents
Community & Course
Events ✦ Calendar↘
Heads up, this is a calendar of ALL events at ilovecreatives, so look for SHOP (Shopify ✹ Course). If you would like to add this Calendar to yours, click here. You can also RSVP in Discord Events.
✹ To add this calendar to yours, click +Google Calendar ↖