Image Trail Cursor Animation
Image Trail Cursor Animation
Add a solitaire-like image trail to your webpage with this cool script
Compatible with: Squarespace 7.0 & 7.1
For more, check out our FAQs.
If you are a Squarespace Student, please login to access this code snippet.
Description
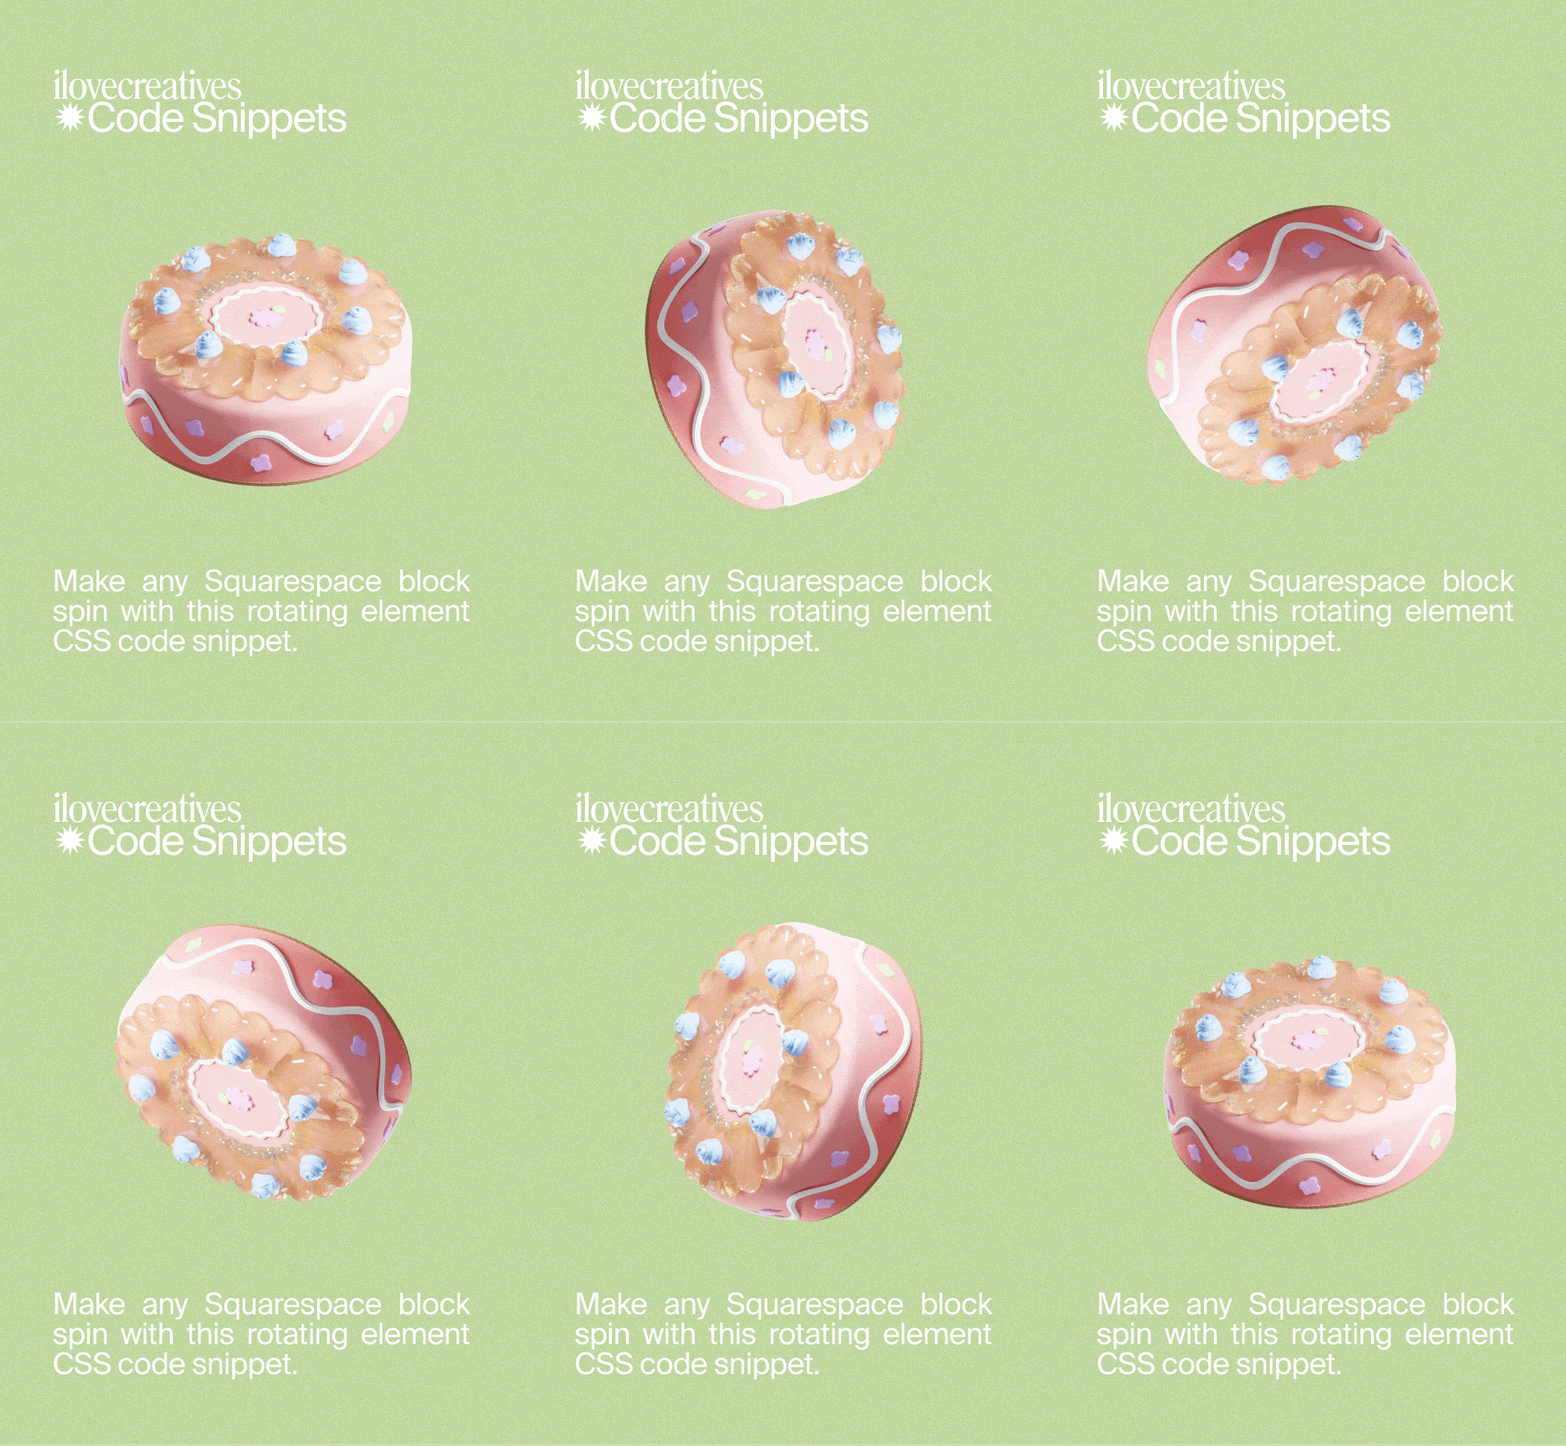
As you hover, the image will repeat in a solitaire-like animation that follows your cursor. This works with one link or can support as many links as you want.
➀ Page Header Code Injection
Add the code to the Page Header Code Injection of any page where you want this effect to display.
Menu → Pages
Click your page's ⚙︎ gear icon
In Page Settings, click Advanced.
Copy and Paste the following HTML code and Save
Page Header Code Injection panel
<!-- Start | Image Trail Cursor Animation by ilovecreatives -->

<script src="https://ajax.googleapis.com/ajax/libs/jquery/3.6.0/jquery.min.js"></script>

<style type="text/css">
	/* Extend the container where image trail appears by adding padding  */
	.trailContainer {
		padding-top: 100px;
		padding-bottom: 150px;
	}

	/* Style links here */
	.trailContainer a {
		font-size: 300%;
		line-height: 125%;
	}

	.trailItem img {
		position: absolute;
		pointer-events: none;
		z-index: 2;
	}

	.hide {
		opacity: 0;
	}
</style>

<!-- End | Image Trail Cursor Animation by ilovecreatives -->
➁ Customize
Links
.trailContainer a
Change things like font-family, font-size, color, font-weight, text-decoration, or font-style. By default, the font size is 300% and the line height 1.25x, but feel free to change these values.
Images
.trailItem img
To display images show up behind text links, use z-index: -1;
To create a rounded border radius, use border-radius: 5px; and adjust to your liking.
Paintable Area
.trailContainer
Increase the padding values to allow the viewer to move their mouse further away from the link while keeping the effect active. Below is an example of really large padding-bottom value.
Really large paintable area.
➂ Upload Images
We'll need to upload images manually. There are two methods.
Method 1: Custom CSS
Menu → Design → Custom CSS → Manage Custom Files
ℹ️ We recommend keeping the Custom CSS Editor open in a separate tab so you can copy and paste more easily.
Upload or drag and drop all of your images
To get the URL, click on an image (in this example, click on "Cake.png")
Once you click the image, a URL will be pasted in the custom CSS editor.
Copy this URL (in your notes app) and use it in the next step *
Delete this URL from the Custom CSS panel **
* If it doesn’t work, make sure you copied the entire URL. This is an absolute path to Squarespace's Content Delivery Network (CDN), which delivers assets from servers geographically close to your viewers to improve site load time.
** Remember to delete these URLs in your Custom CSS panel! It will create a syntax error. Instead, select and copy the URLs, paste them in Notes (or your favorite note taking software).
Method 2: File Upload (harder, but recommended)
On the page that you added the code snippet, go into Edit Mode
In the text block, write some text.
Select the text and create a link.
Click the Settings ⚙︎ gear icon.
Click the ⚙︎ gear icon on the right.
Link Editor → File
Click "Upload File" and select an image
Once uploaded, select the name of the image ✓
ℹ️ Important! The file is not checked by default, you have to check it!
Click "Save"
Click "Apply"
Click “Upload File”
Right click on the link and click “Copy Link”
Repeat for each image you plan to upload.
Important Note on File Paths
Here's our URL:
https://sapphire-ellipse-gksy.squarespace.com/s/Cake.pngNotice how we used a trial site, so the URL is [name of image].squarespace.com.
If you were to add a custom domain, this URL will no longer work.
To avoid this, we recommend using relative paths, which means referencing files relative to your domain name, without including the domain name at all!
You only need to copy /s/Cake.png — This is the relative path!
Advanced Tip (optional)
Unfortunately, Squarespace hasn’t finished making their image upload feature yet so yeah, it’s pretty booty right now. One workaround is to create a page dedicated for uploading any kind of asset that the Custom CSS Editor can't upload (for example, js or svg).
Create a new unlinked page called "File Upload".
Uncheck "Enable Page" so the page can't be accessed by visitors.
➃ Create Code Block
In your page body, create a new code block.
This is a code block.
Delete the
<p>Hello, World!</p>placeholder.Paste this code:
It might look a lil crazy until you save the page and refresh.
<!-- Start Image Trail Cursor Animation by ilovecreatives -->
<center><div class="trailContainer">
  <span class="trailItem">
			<a href="https://ilovecreatives.com" target="_blank">Ebb & Flow</a>
		<img src="/s/Clouds.png" alt="">
		</span>

  <span class="trailItem">
			<a href="https://ilovecreatives.com" target="_blank">Rainbow Audit</a>
        <img src="/s/rainbow-1.png" alt="">
 		</span>

  <span class="trailItem">
			<a href="https://ilovecreatives.com" target="_blank">Muad'ib</a>
		<img src="/s/muaddib-and-vase.png" alt="">
		</span>

		<span class="trailItem">
			<a href="https://ilovecreatives.com" target="_blank">Internet Gems</a>
        <img src="/s/Internet-Gem-geo.png" alt="">
		</span>

		<span class="trailItem">
			<a href="https://ilovecreatives.com" target="_blank">Post an Ad</a>
		<img src="/s/Newspaper.png" alt="">
		</span>

		<span class="trailItem">
			<a href="www.ilovecreatives.com" target="_blank">Cake</a>
		<img src="/s/Cake.png" alt="">
		</span>

		<span class="trailItem">
			<a href="https://ilovecreatives.com" target="_blank">Hydration Committee</a>
		<img src="/s/Green-Nalgene.png" alt="">
		</span>
	</div>
</center>

<script type="text/javascript">
	// Edit image height here
	const imageHeight = 90;

	var item = document.querySelectorAll(".trailItem");
	var container = document.querySelector(".trailContainer");
	item.forEach(element => {
		var trail = element.querySelector("img");
		$(trail).addClass("hide");
		$(trail).height(imageHeight);
		element.addEventListener('mouseover', (e) => {
			$(item).children("img").addClass("hide");
			$("img.clone").remove();
			$(element).children("img").removeClass("hide");
			$(trail).offset({
				left: e.pageX - $(trail).width() / 2,
				top: e.pageY - $(trail).height() / 2
			})
			$(container).mousemove(function(e) {
				$(trail).clone().addClass("clone").appendTo(element).offset({
					left: e.pageX - $(trail).width() / 2,
					top: e.pageY - $(trail).height() / 2
				});
			})
		})
		$(container).mouseleave(function() {
			$(trail).addClass("hide");
			$("img.clone").remove();
		});
	});
	</script>
	<!-- End Image Trail Cursor Animation by ilovecreatives -->
➄ Edit HTML
Link Structure
<span class="trailItem">
  <a href="http://ilovecreatives.com">Cake</a>
  <img src="/s/Cake.png" alt="Pink 3D Cake">
</span>
Everything that is between
<span></span>is considered one link.
To change the link destination, replace the URL between the quotation marks in
<a href="">. Make sure you have both quotation marks!<a href="http://yourwebsitehere.com">
To change link text, edit the text between
<a>and</a><a href="http://yourwebsitehere.com">Your text here!</a>
It's best practice to write alt text for accessibility, change text between the quotation marks in
alt="". Write something descriptive for your viewers who use text to speech software.Example:
<img src="/s/Cake.png" alt="Pink 3D Cake">
To delete a link, delete the entire block above, including
<span class="trailItem">and</span>tags.
To add a link, copy the entire block above and paste below or above it.
To find a page URL on your site, copy its URL Slug. You can find the URL Slug in Page Settings or your browser's URL bar. You don't need to include https:// if you're linking to pages on the same domain name! This is a relative path.
To stack links on top of each other, replace
spanwithdiv.spanis an inline element, meaning all your links show up on one line.Example:
<div class = trailItem”>
  <a href=”http://ilovecreatives.com”>Cake</a>
  <img src=”/s/Cake.png” alt=”Pink 3D Cake”>
</div>
To change the image size, at the bottom of the code block, you can edit the image size by editing the
imageHeight.
	<script type="text/javascript">
	// Edit image height here
	const imageHeight = 90;
The default value, 90, makes all images a uniform 90px tall. The width is automatically calculated. Play around with this value!


